quote:
Originally posted by Warren Webb
When you said the plastic inserts were yellowed & cracked it jolted
one of my pet pieves on our reproduction Stude pieces. I had talked to a
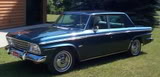
friend of mine about this & showed him my Hawk & how the
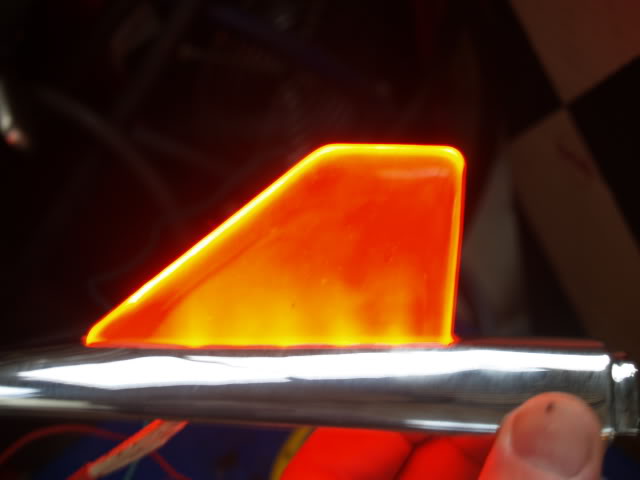
original lens was cracked but clear as day while the repo was all
yellowed & hardly shows the light. (his business is making &
producing injected plastic parts) He said that just changing the
material used would correct that. I know so many of us a caso's, but
why skimp on the basics like this? Same goes for the screws that retain
the ball socket on my Champ mirrors. They rusted in weeks looking so
ugly. Why not spend a few cents more when they are made & use
stainless screws so they look right for years to come. I hope those
that are making these & all our parts dont take this as a bashing,
but as constructive.
60 Lark convertible
61 Champ
62 Daytona convertible
63 G.T. R-2,4 speed
63 Avanti (2)
66 Daytona Sport Sedan


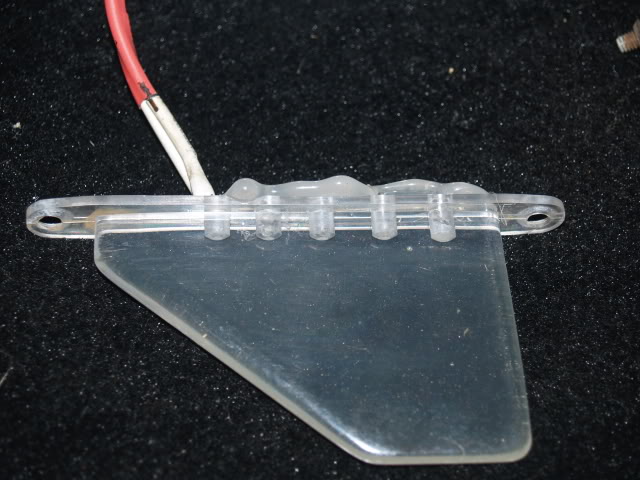
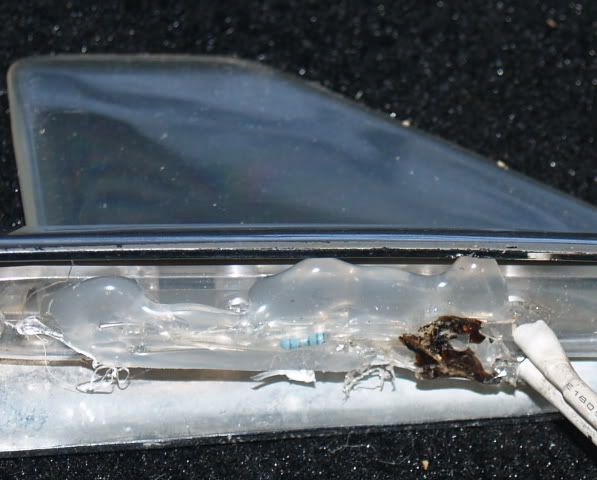
, and missing gaskets). However, there was voltage at both sockets if I tested against a good ground. These assemblies consist of a light bulb socket attached to a 90-deg angle bracket which screws into the fender molding, with a long cable back to a connector.
). So I soldered a bit of wire to the shiny spot of one socket and wrapped the other end of the wire to the screw in hopes that mounting all this back onto the fender would yield a workable ground. However, there was no joy resulting. I expect that now I will have to run ground wires out with the 12v leads and find some solid place to ground to.
 Reply
Reply