Bob's Studebaker Resource Website
61-64 Studebaker Hawk Turn Signal Switch (part #1551930)
This is the procedure to replace the Turn Signal Switch ( 1551930) in a 61 - 64 Hawk
You will need a 15/16" wrench to remove the steering wheel nut, a phillips screwdriver, a pair of pliers. Some electrolytic grease, blue masking tape and about 16" of "not too stiff" mechanics wire. |
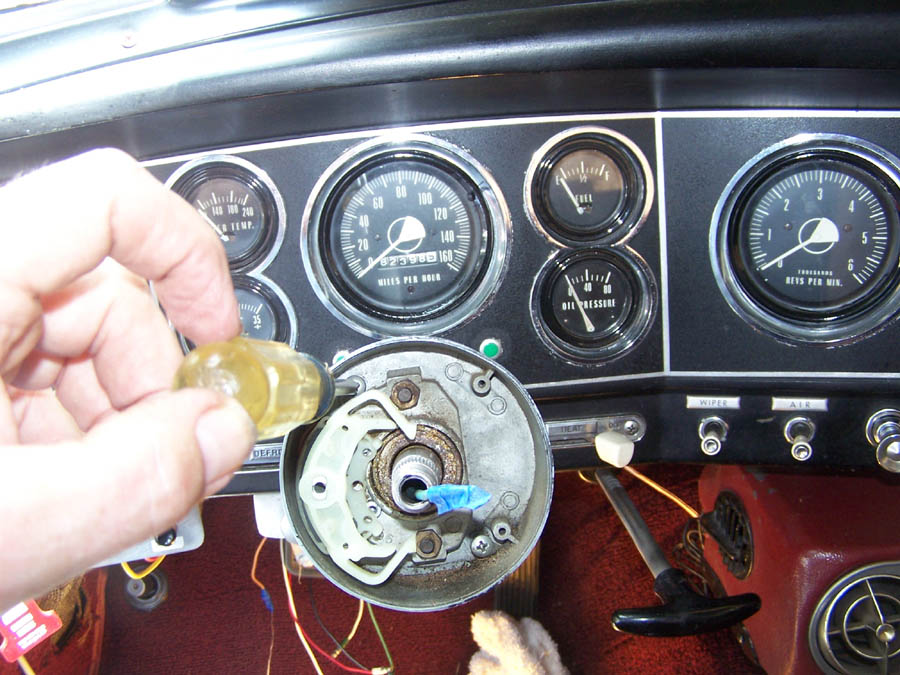
Have the wheels in a straight ahead position. Remove the horn button. Remove the center horn wire from it's connector and tape the end. Remove the three phillips screws holding the horn ring in place. Remove the 15/16" nut holding the steering wheel in place. Before removing the steering wheel, make an index mark with a black sharpie, across the hub of the wheel and the splined shaft, so you know how it gets returned. At this point, you may be able to rock the steering wheel and walk it off the spline. If not, then you need to acquire a steering wheel puller to remove the wheel.
|
|
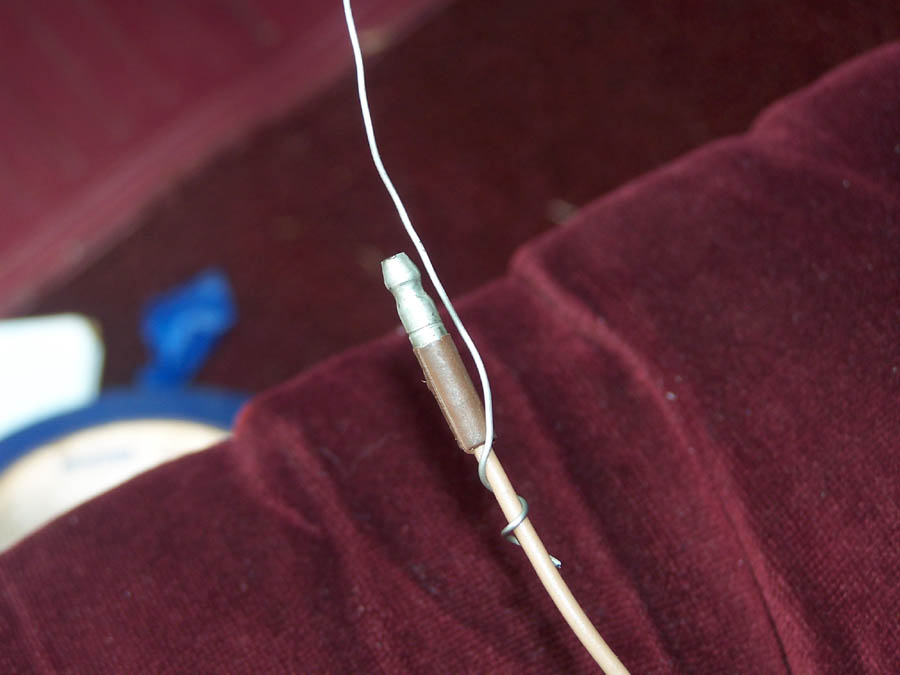
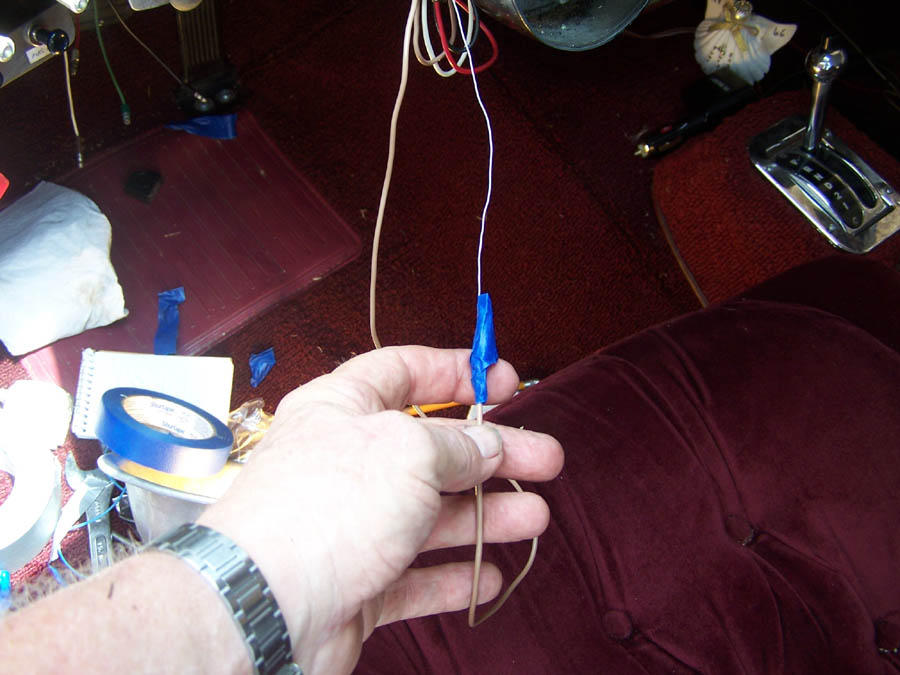
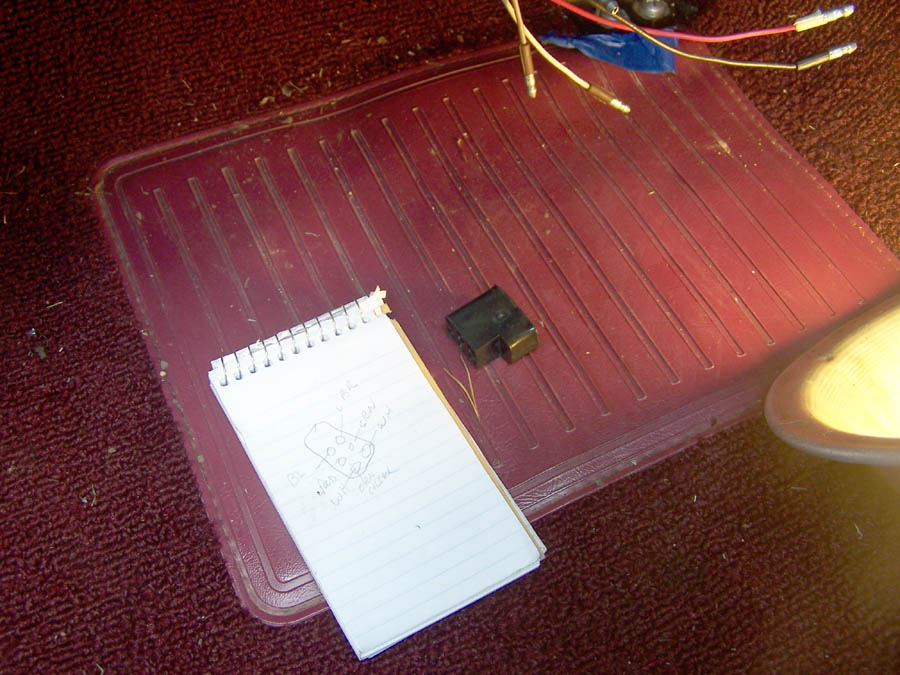
4) Take 16" of mechanics wire and fashion a fish wire as shown. Wrap the mechanics wire one or two turns around the end of one of the turn signal wire connector ends to get the shape. It need only be tight enough to grab the connector end without slipping off. 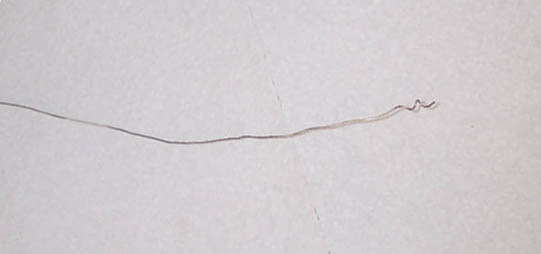
|
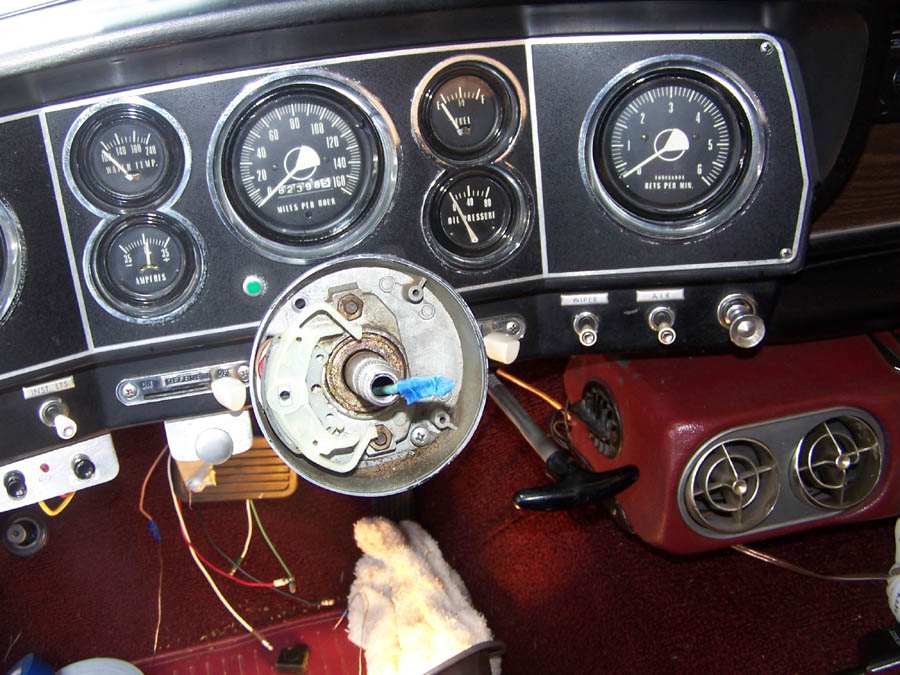
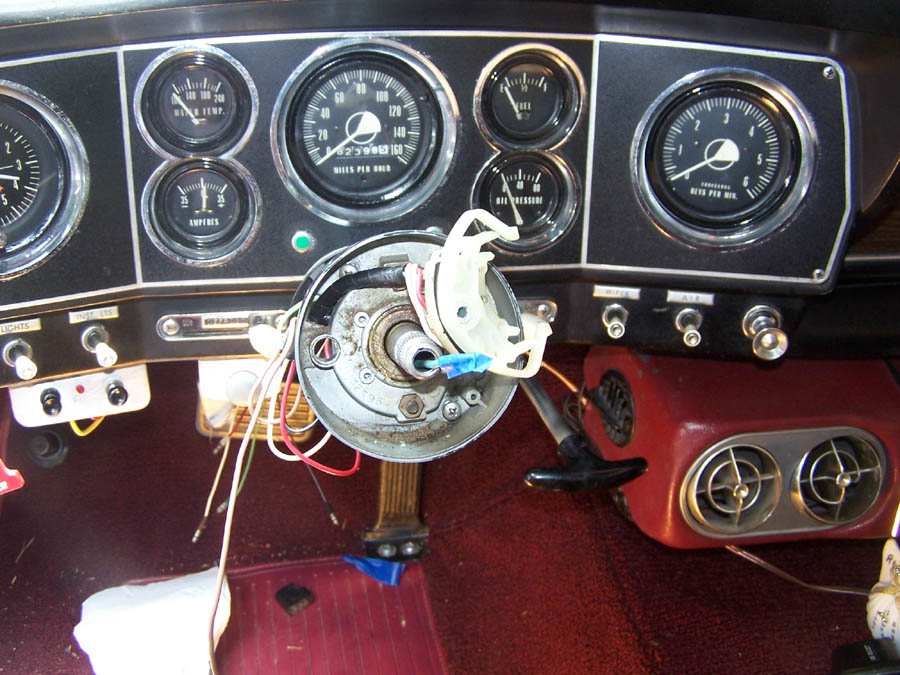
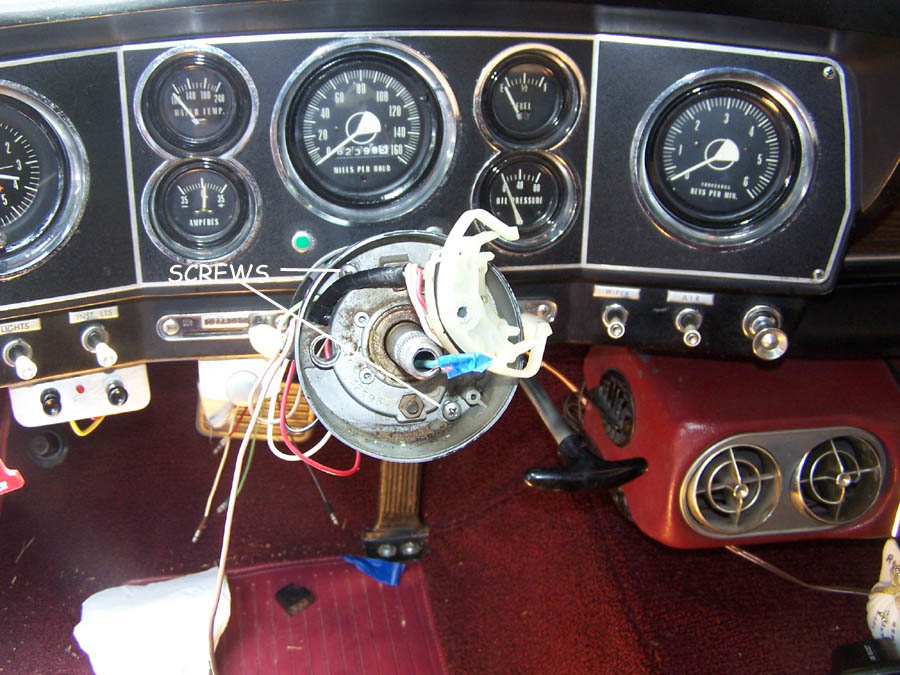
Some have been adjusted and shown in the dis-assembly process. The text should clarify things. With the steering wheel off, you are looking at 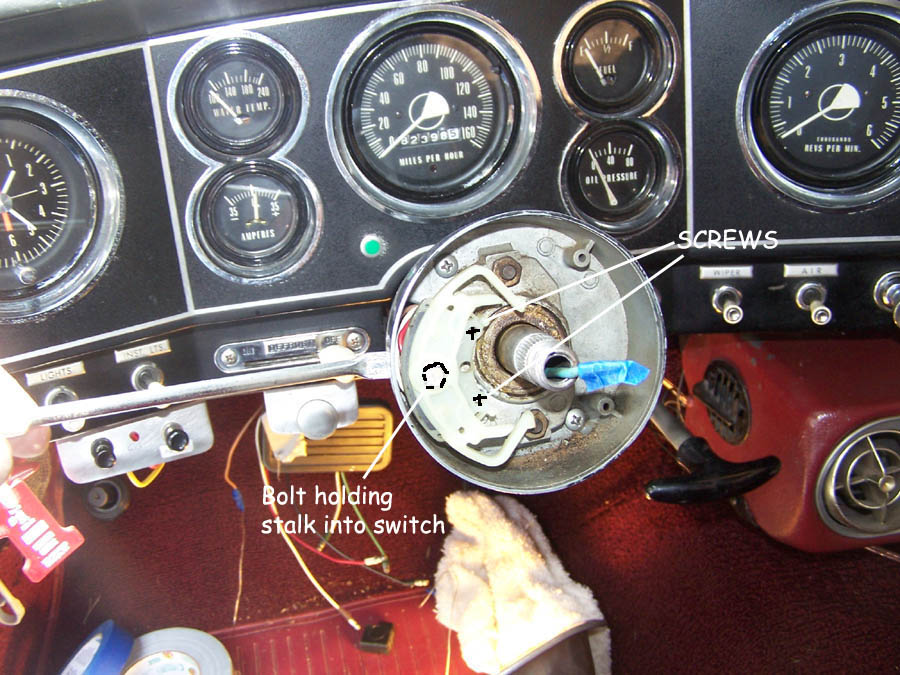
|
Reassembly
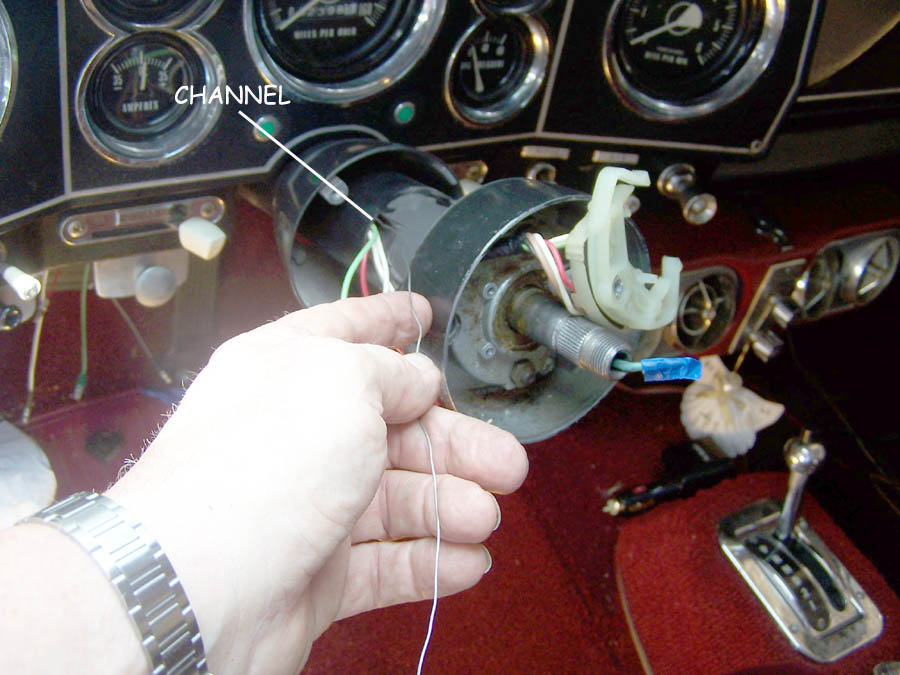
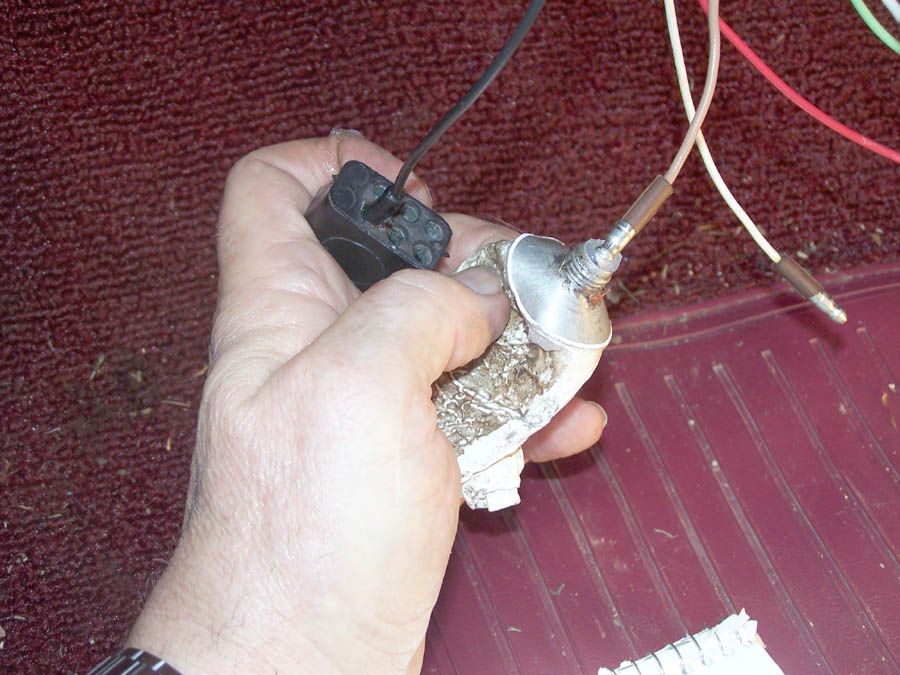
 CLICK this pic 9)Thread the new wires through the upper hole in the support. Don't seat the pivot yet 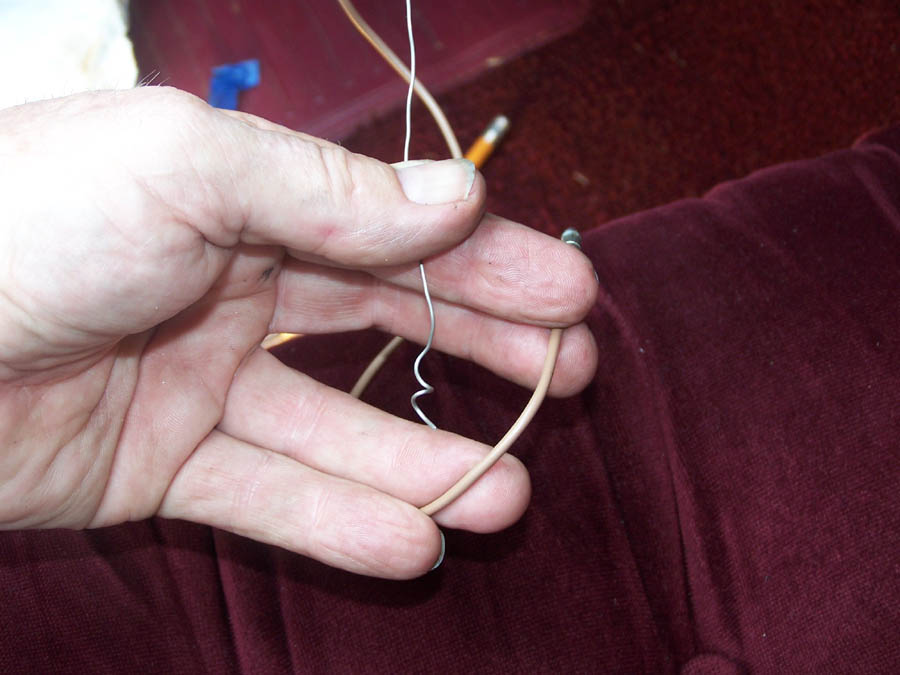 10) For each strand, take the mechanics wire and the individual connector
14) Repeat this for each strand. You have to do it individually, it will never work as a bunch.
15) Once all the wires are threaded through the column,
17) Snug the lower collar back up to the end of the column
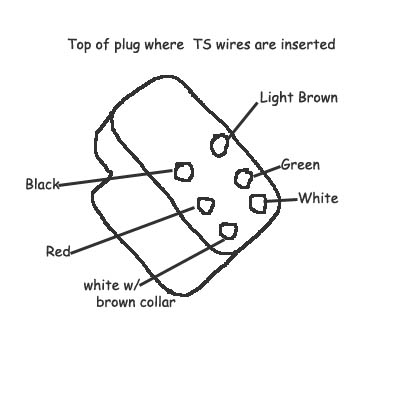
20) Put a dab of dielectric grease in the opposite side of the plug also and reconnect it under the dash
21) Thread the horn wire through the steering wheel and Tighten the 15/16" nut suitably Install the horn ring and reconnect the horn wire Install the horn button and you're done! |