
Bob's Resource Website (2007)
Installing inner suspension bushings
Bob's Resource Website (2007)
Installing inner suspension bushings
(Installing Inner suspension Bushings)
The Control Arm INNER rubber bushings are pressed into place while the
ears are supported by a Special tool 
Kent-Moore J5472
. The short piece is for the upper Control arm, the longer one for the lower arm. This tool merely maintains the distance between the ears to prevent distortion by the press used to install the bushings. This tool can be fabricated using any rigid material ( 2" water pipe) that can withstand the pressure from the press.
NO LUBRICATION should be used to 'help' the bushings move into place or else it will cause problems later. If the holes in the control arm are cleaned up with a light sanding, a little dishwasher detergent can help, but this component is supposed to have an interference fit. This is accomplished by a difference in ID od the control arm and the OD of the bushing, of about .0005-.0010
IMPORTANT
New or what are called NOS washers supplied by the vendors are NOT the same as Studebaker
After installation of the bushings, the control arm assembly should be reinstalled on the car, with the inner pins fastened tight to the frame with suggested new hardware of grade 8 bolts and locknuts. The end pin hardware, including cover washers and bolts, only TIGHTENED enough to assure that it will stay in place on the car.
(NOTE Oct 2015) New lower inner bushings ordered from our vendors are NOT produced to Studebaker design. They are GM bushings from cars produced in the 80's and the inner sleeve is Longer than the standard Studebaker bushing. This means you cannot use the original Large Studebaker bushing washer. It WILL function to lock the center pin against the inner sleeve, but the excess bushing rubber will have little if any support, as the original compound curve will be farther away from the rubber. 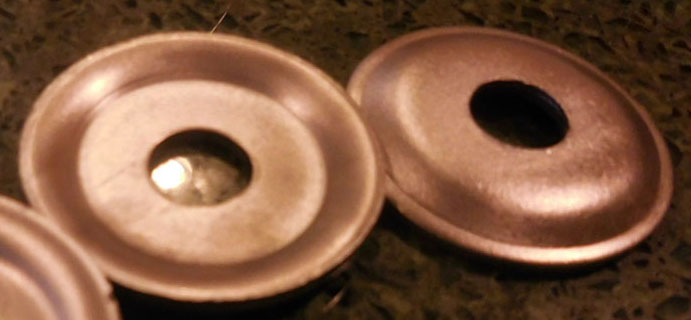
washers and are actually flat across the center vs concave for the Studebaker design. These are somewhat sufficient to use on the NEW bushings, but pinch a bit too much rubber behind the washer.
During my latest renovation job, found that 12mm washers can have the outer circumference ground off a bit to fit inside the rubber and against the inner sleeve, effectively lengthening them further. Then the new washers will press against the pin and tighten up, leaving a decent amount of rubber exposed, not pinching it excessively. The important thing is to understand the center sleeve is locked against the mounting pin to prevent movement of anything except the elasticity of the rubber.
The car should be let down off the jack and allowed to settle on the ground before torqueing the cap bolts to the outer pins.
If the assembly is torqued tight BEFORE allowing the car to settle, the rubber in the bushings will be clamped in place, in the extreme "down travel" of the suspension.
When the car is let off the jack, it will twist the rubber close to it's extreme 'up travel' while it's only sitting level.
The first time it's driven over a
bump, it will TEAR the rubber bushings, as it will now be stretched beyond
its elastic limit and your efforts will be wasted.
Remember, the steel sleeve is NOT supposed to be lubricated, however, Stan Gundry, who wrote a publication on restoring Avanti's, suggests putting silicone grease on the rubber afterwards, to act as a preservative. Petroleum products tend to deteriorate rubber
The following other materials are available which replace the rubber in the bushings.
The plastic polymer replacement materials are stiffer, but do not flex.
They must twist in place to function, creating friction. If they are not
lubricated, they will cause premature wear. This applies to all but the self
lubricating poly-graphite type
All the plastic type replacement bushings are significantly stiffer than the original
rubber. While you will enjoy not having to replace them ever again, they will
add to ride harshness and cause rattles to develop or augment existing
ones.
You should consider renovating the suspension entirely, with original components, before changing to these types.