Bob's Studebaker Resource Website
 Start with the door vent window removed and side window out.
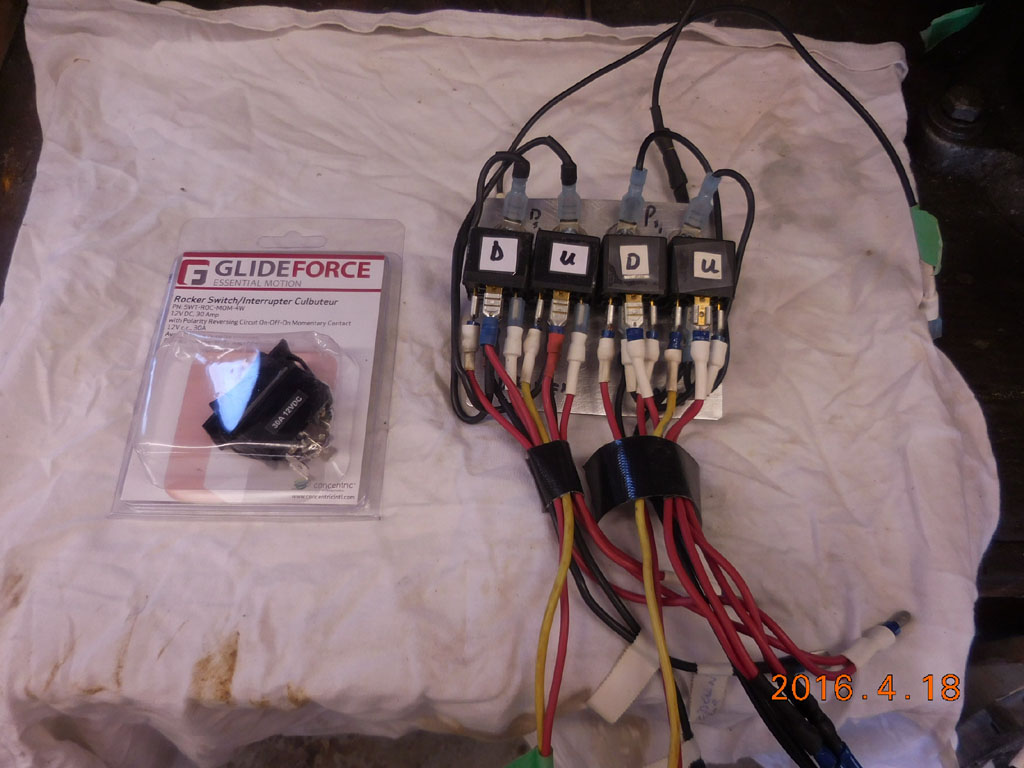
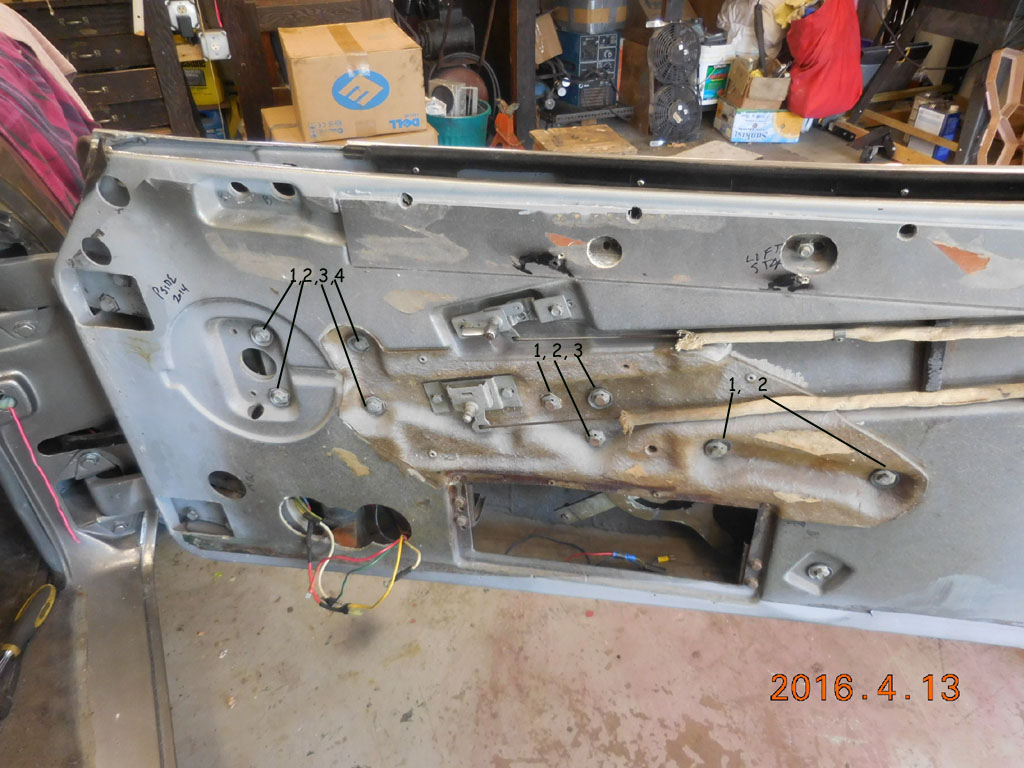
Remove 4 motor brace bolts 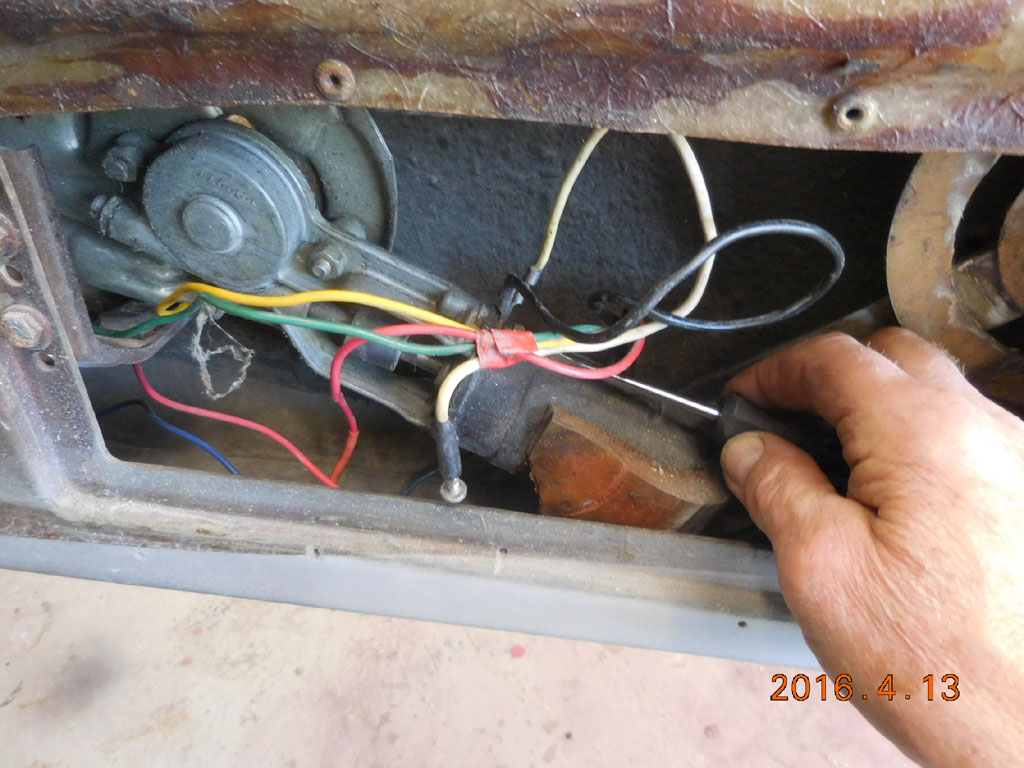 The entire mess will fall to the bottom of the door 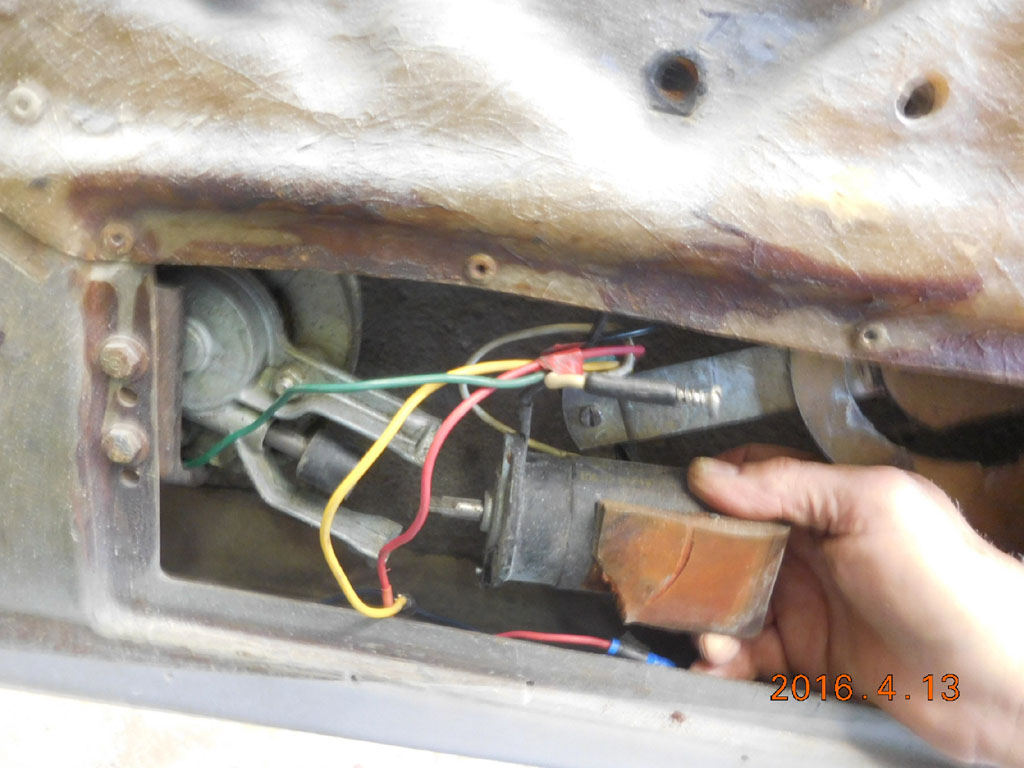 Remove the motor from the transmission 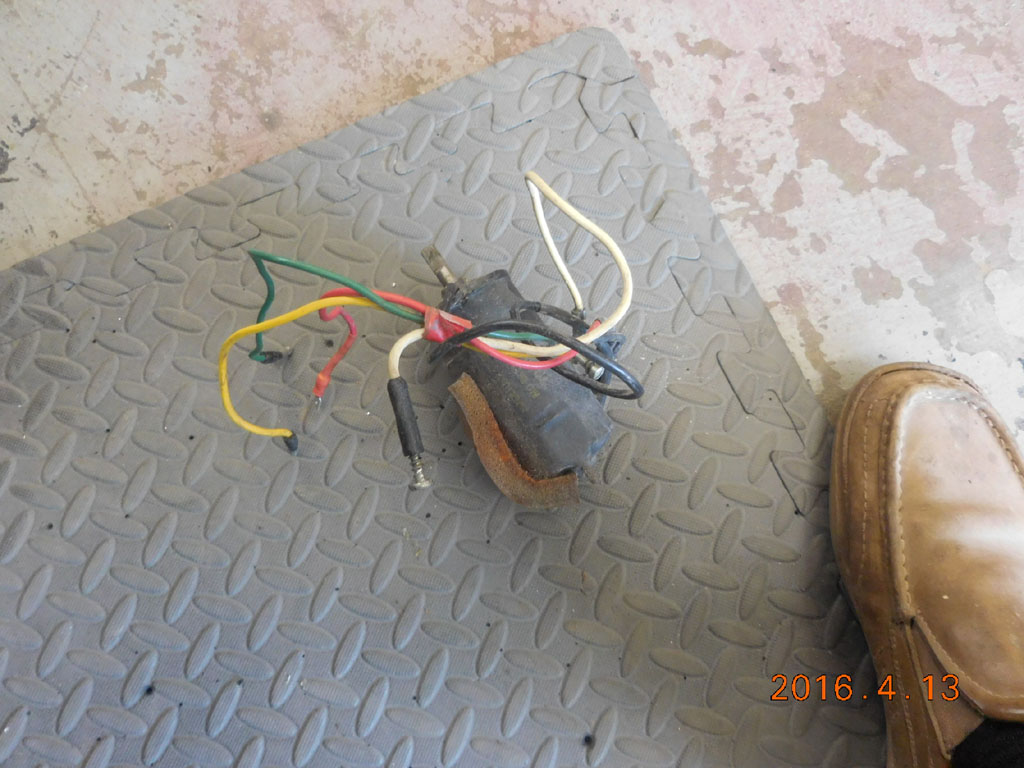  Start to wrangle the mechanism from the door 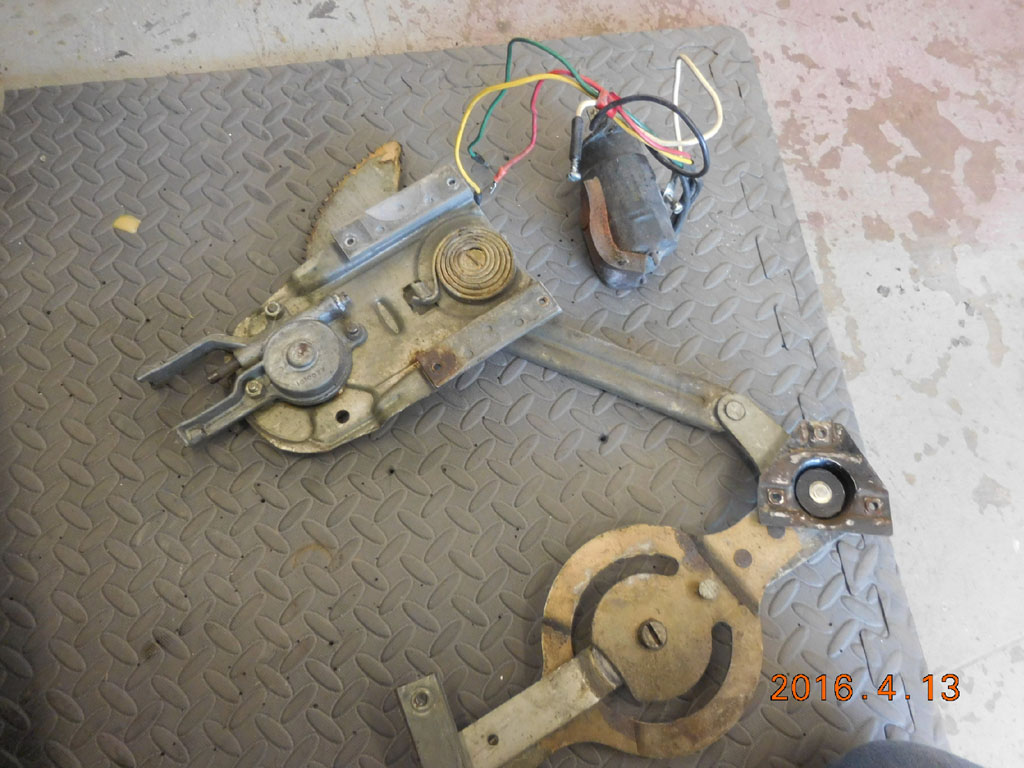 Large and unwieldy... 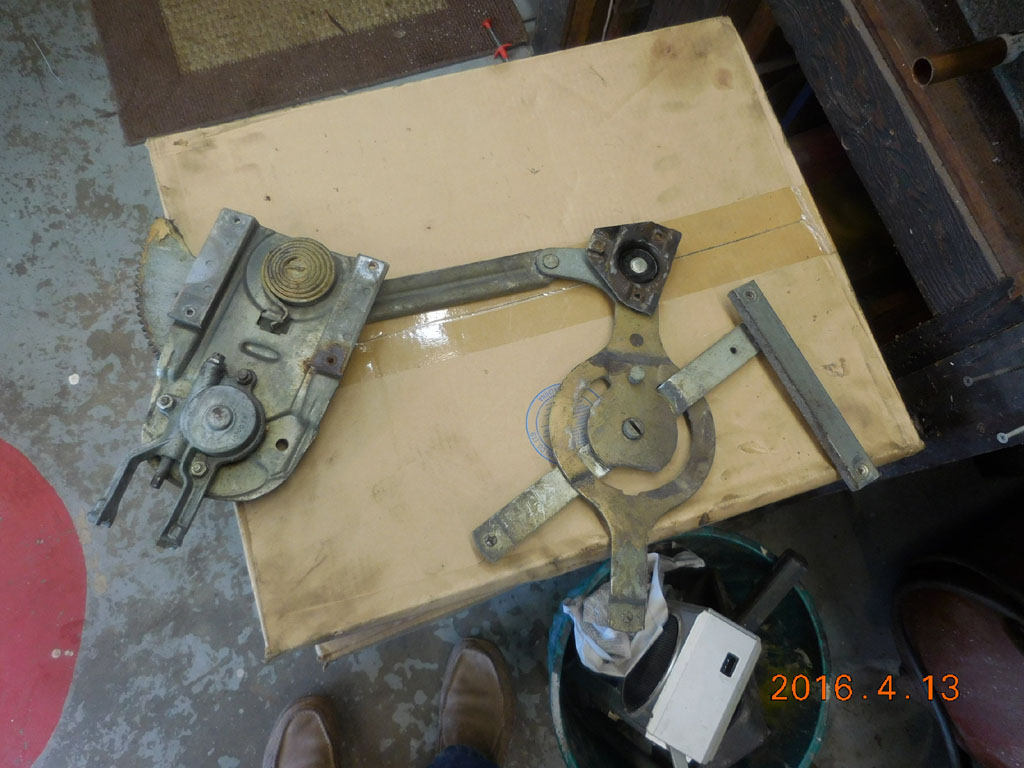 Onto the workbench... 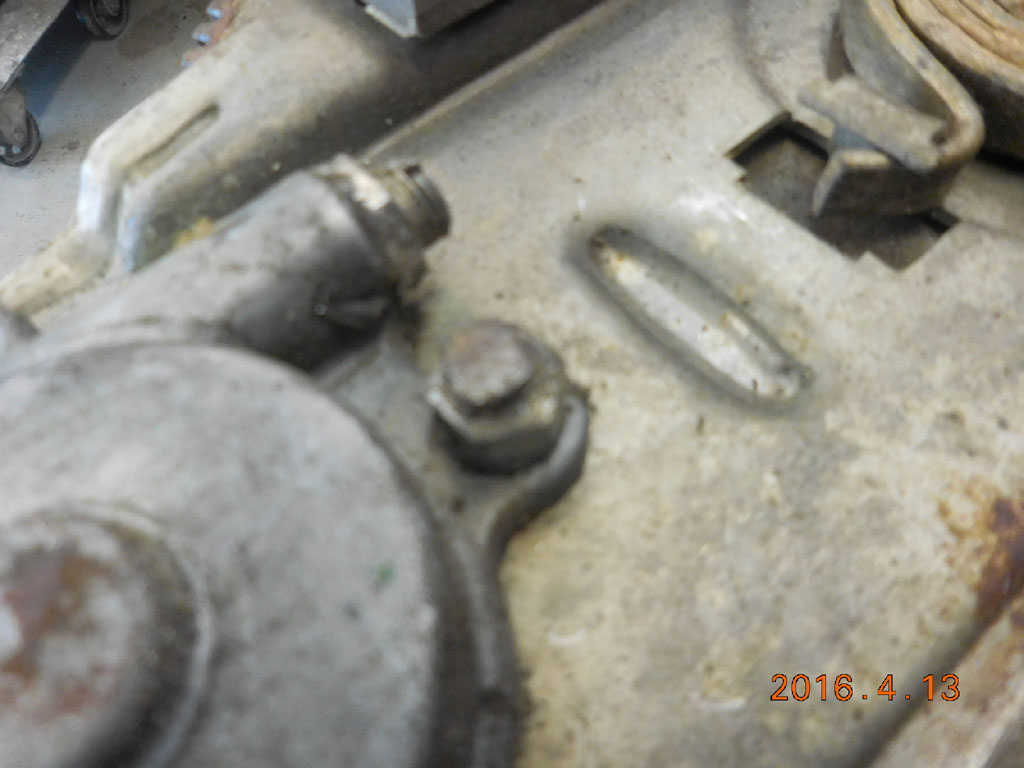 A couple of the mount bolts were peened flat to avoid unscrewing... 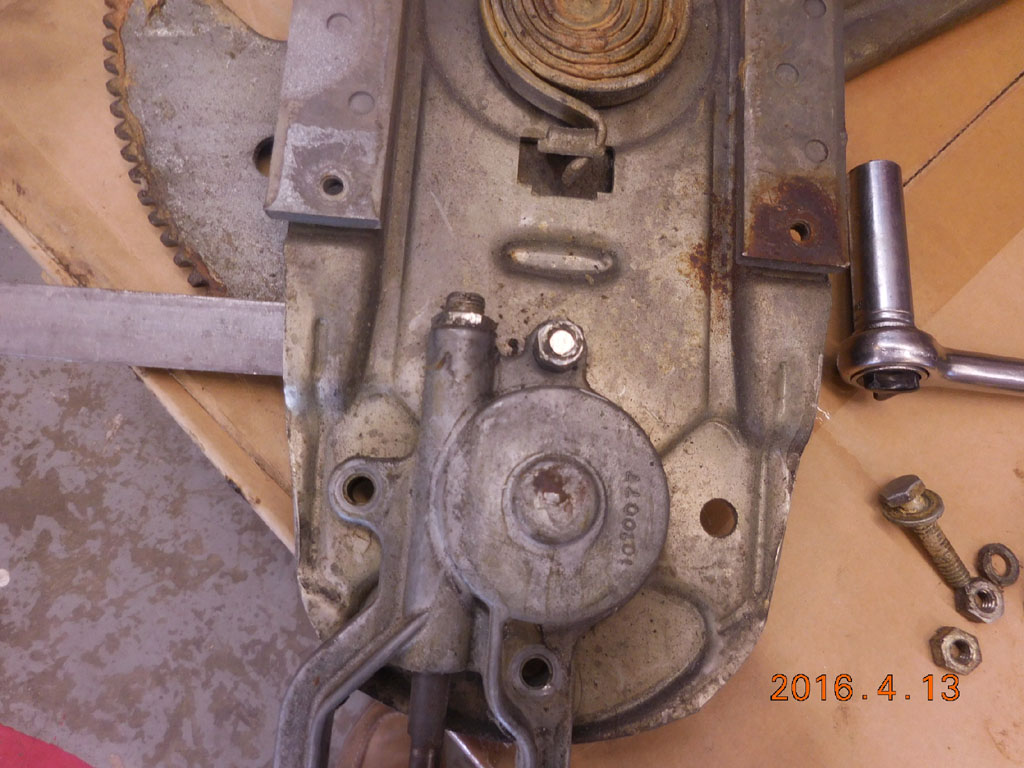 Remove the old transmission mount bolts 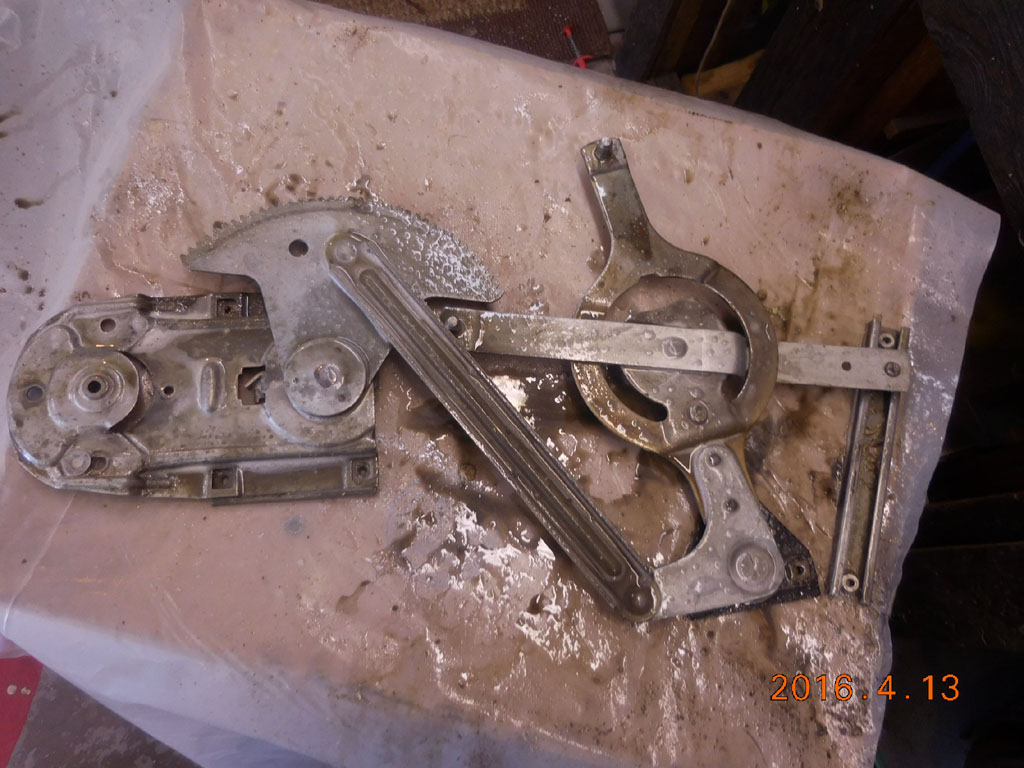 Clean things up.... 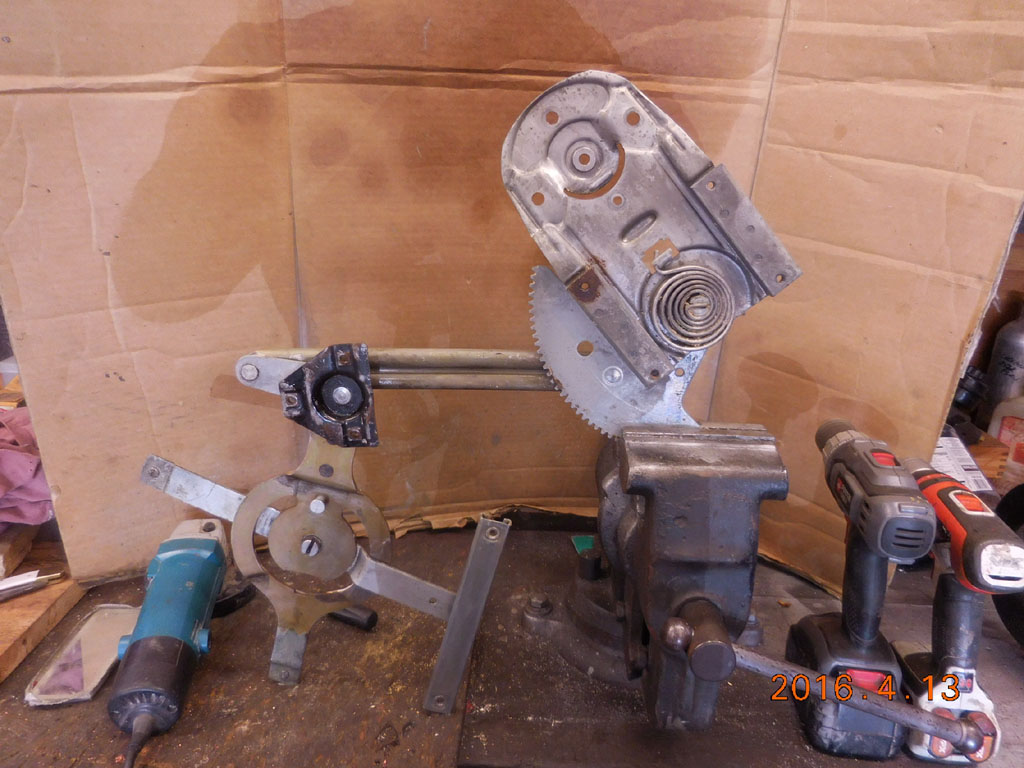 Get familiar with how things look. Note the spring  The spring tension increases as the window goes down Mark the point where the tension begins, so reassembly is easier 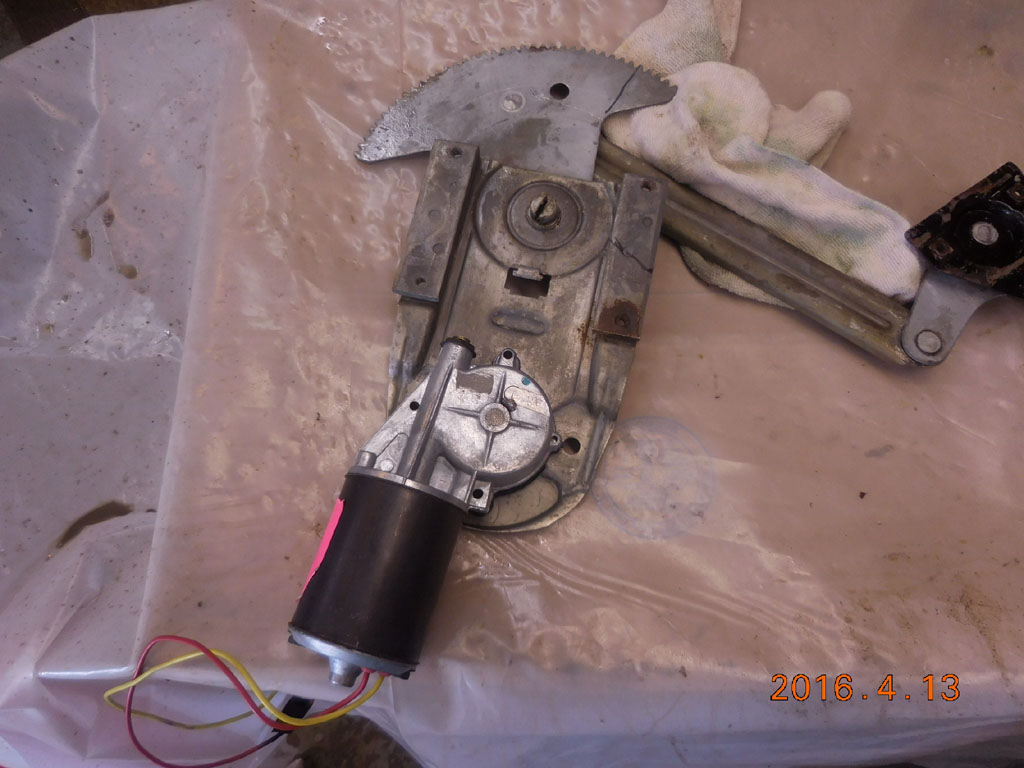 Lay the new motor on the opening 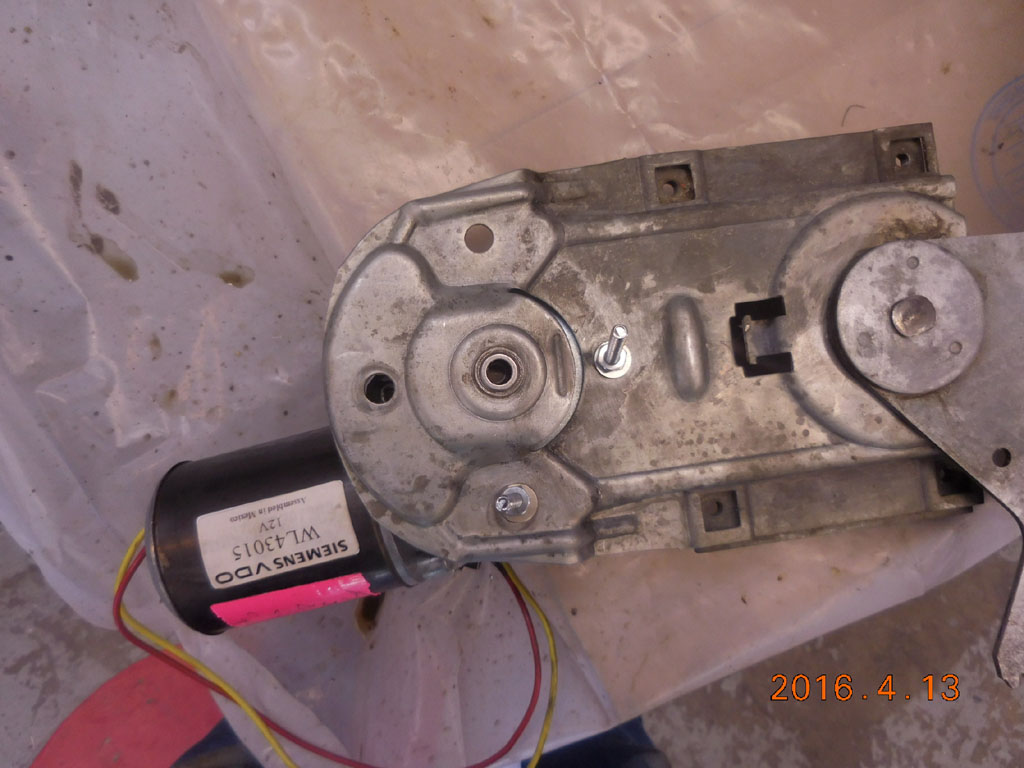 Use the carrier bearing as a registration for the bolt holes 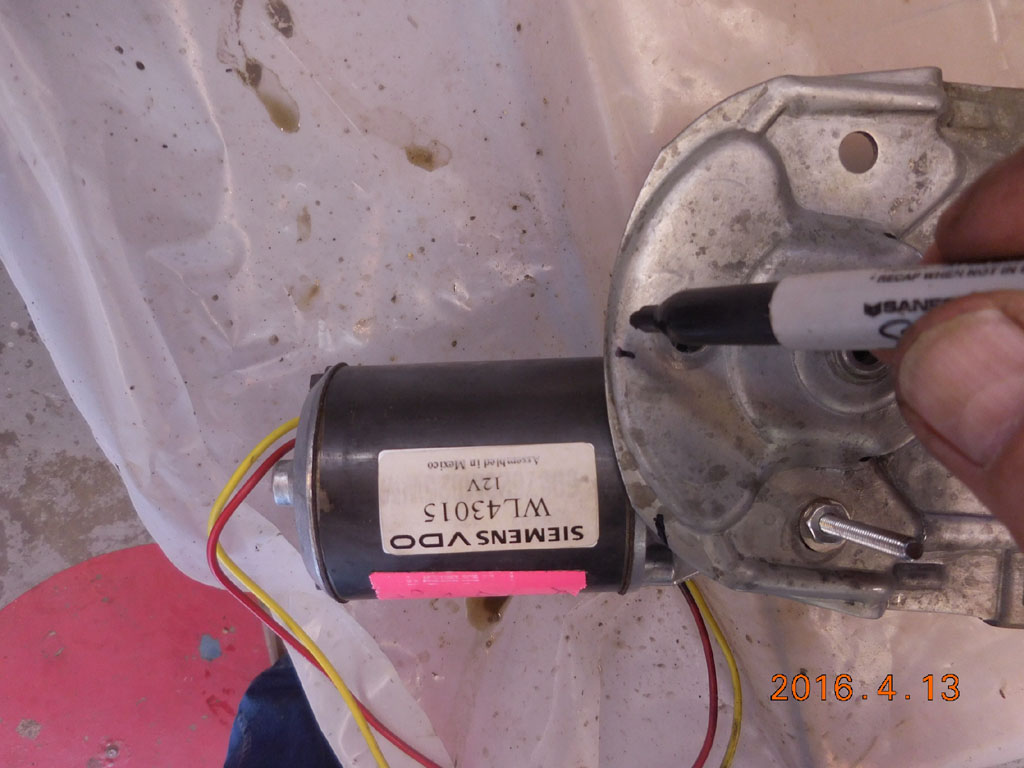 Once the motor seats properly, mark the interference areas...  Dremel with a mini-metal cutoff wheel 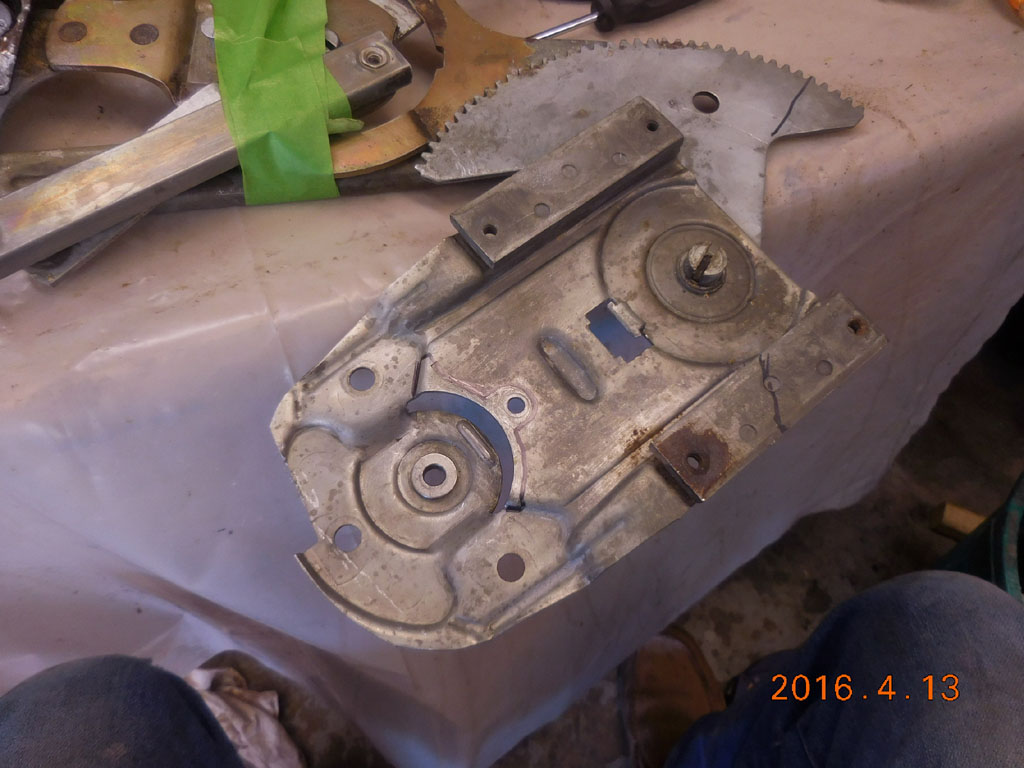 Bottom removal was minimal. A bit more was filed away 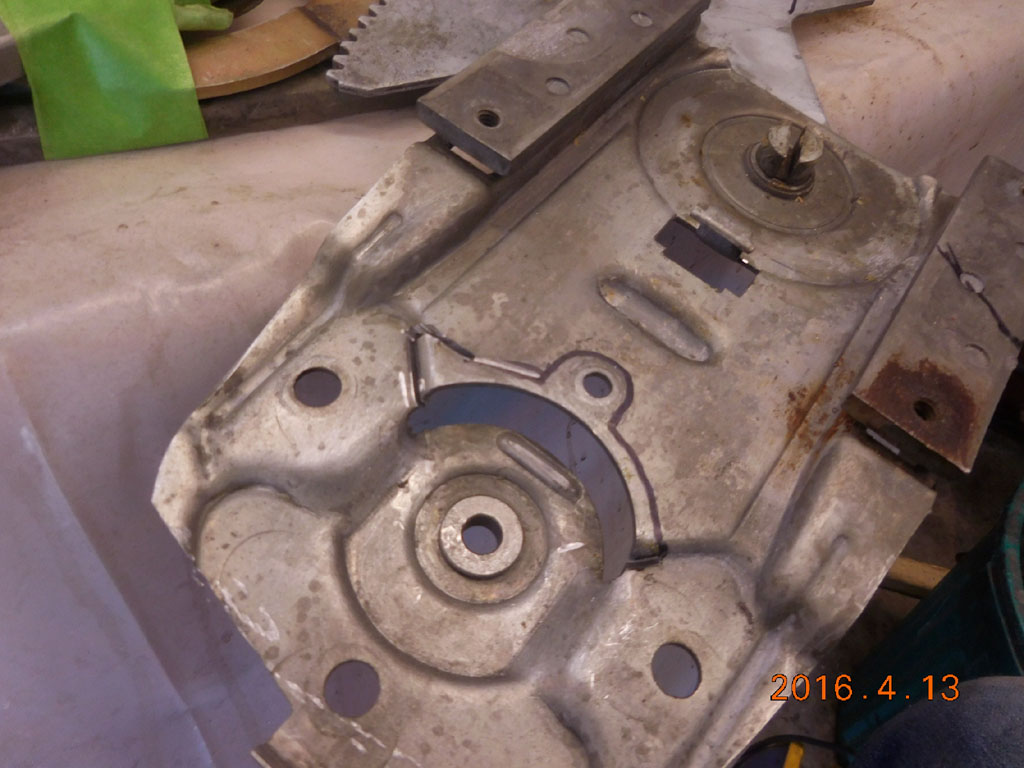 Just before the final cut... 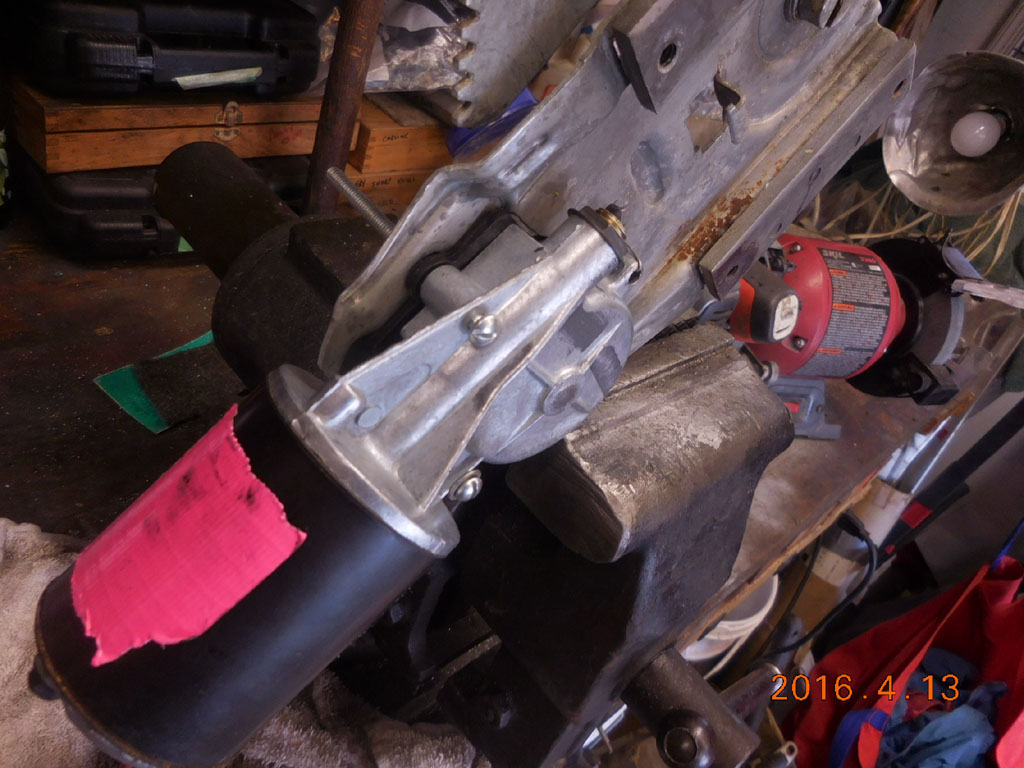 This motor is just a bit different than the Drivers side... 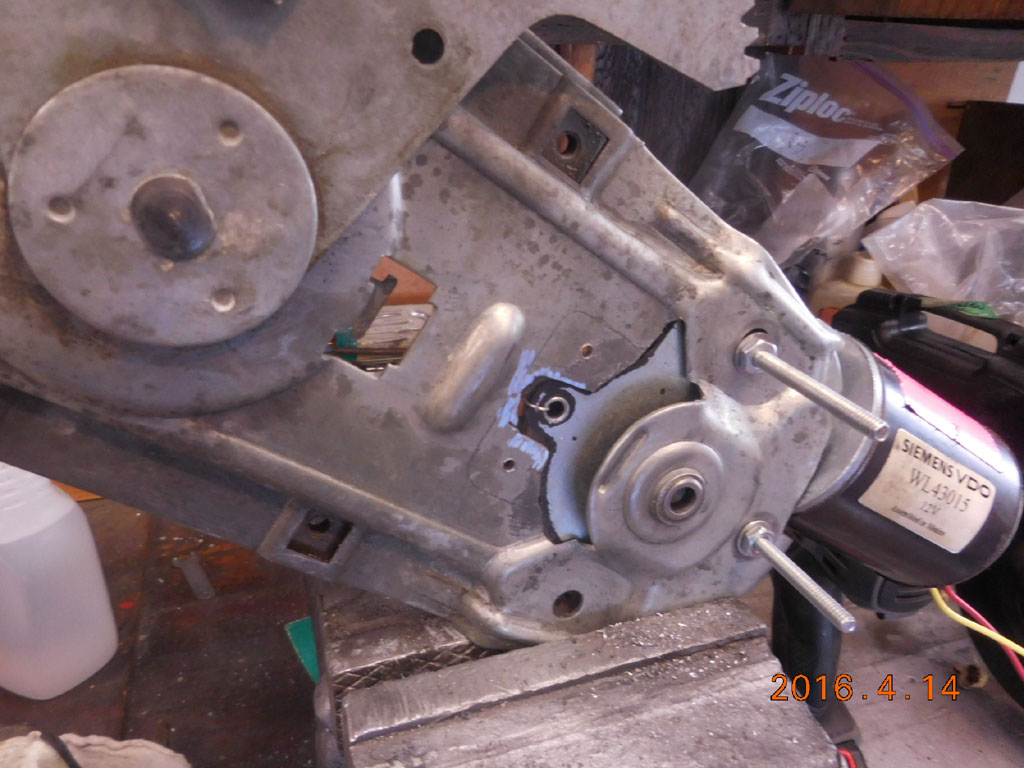 Top bolt needs a landing place also 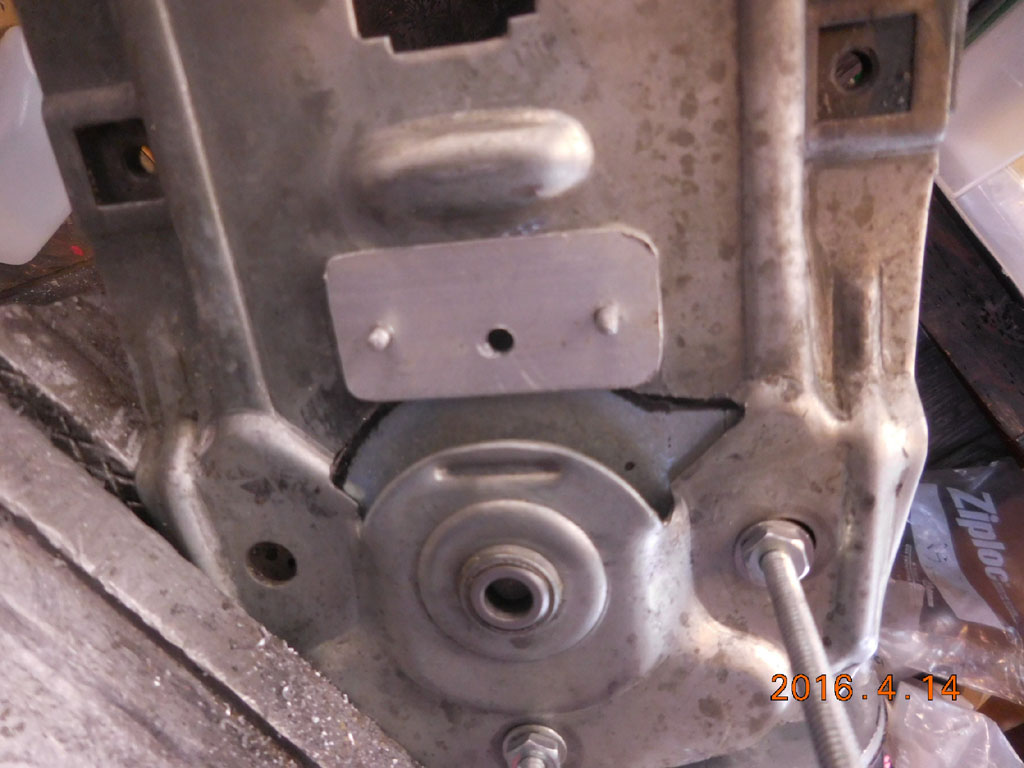 Riveting bolt plate... 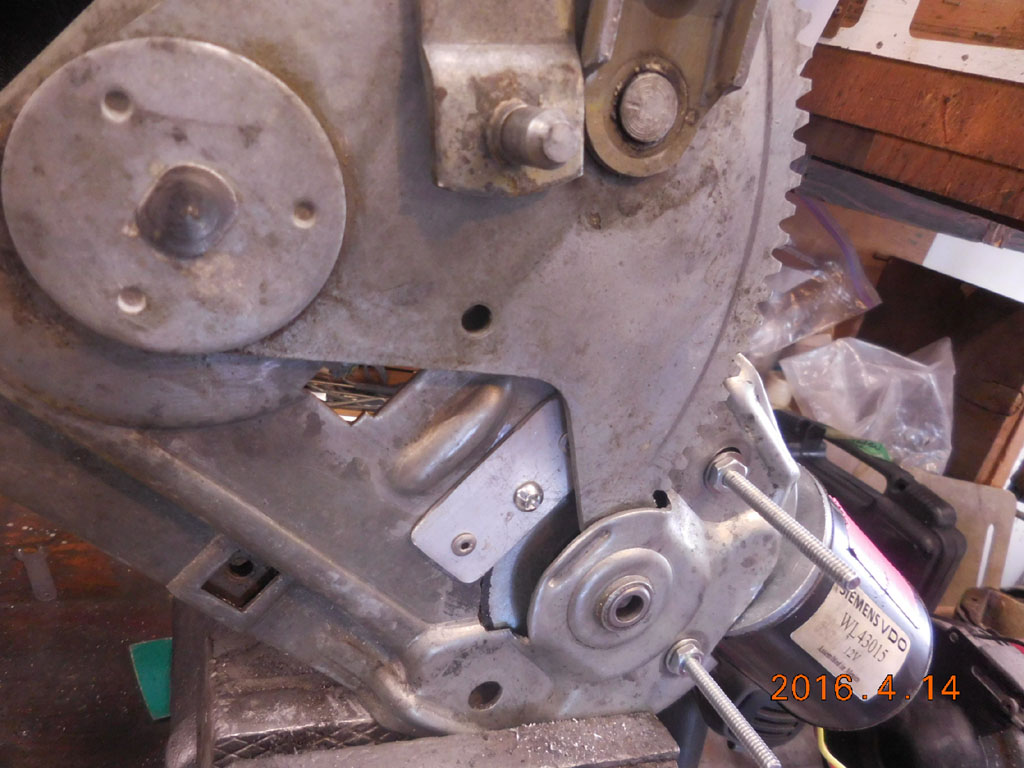 Moon gear clears bolt head nicely 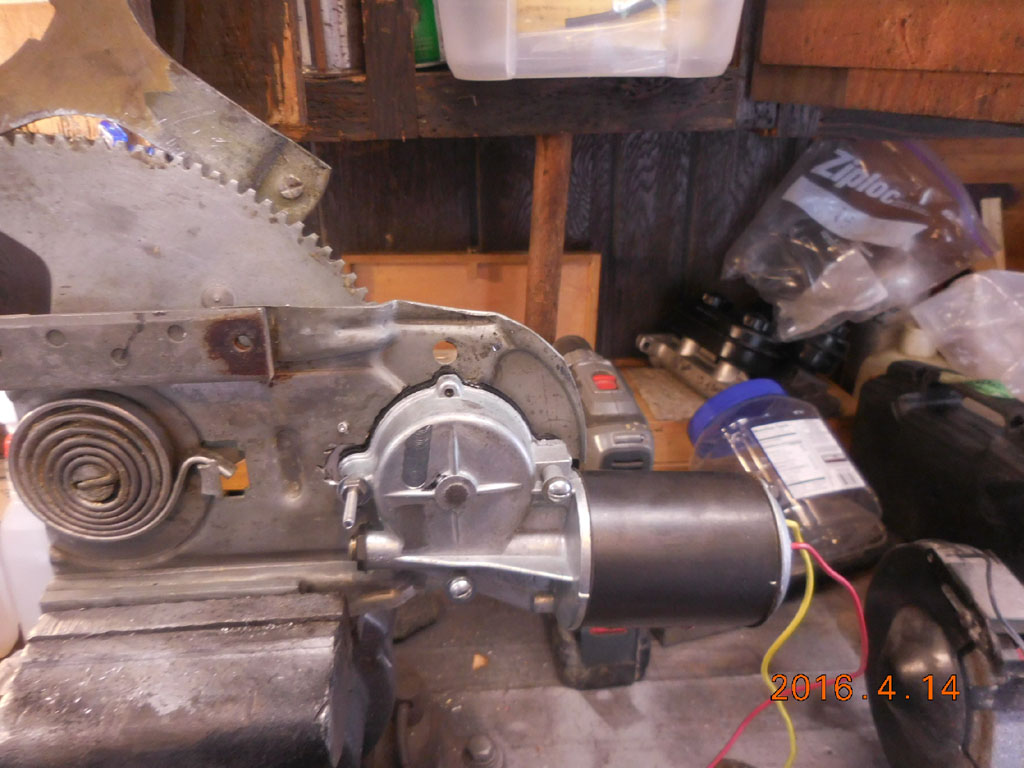 Almost done.. 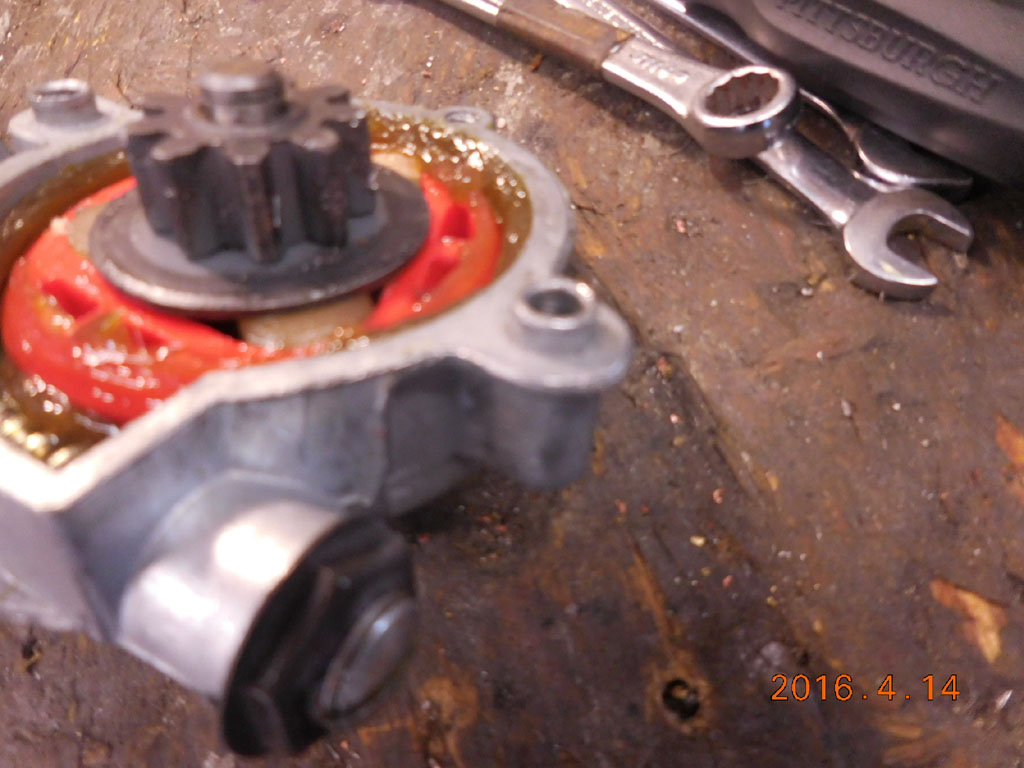 Changing to a 9 tooth drive gear.. 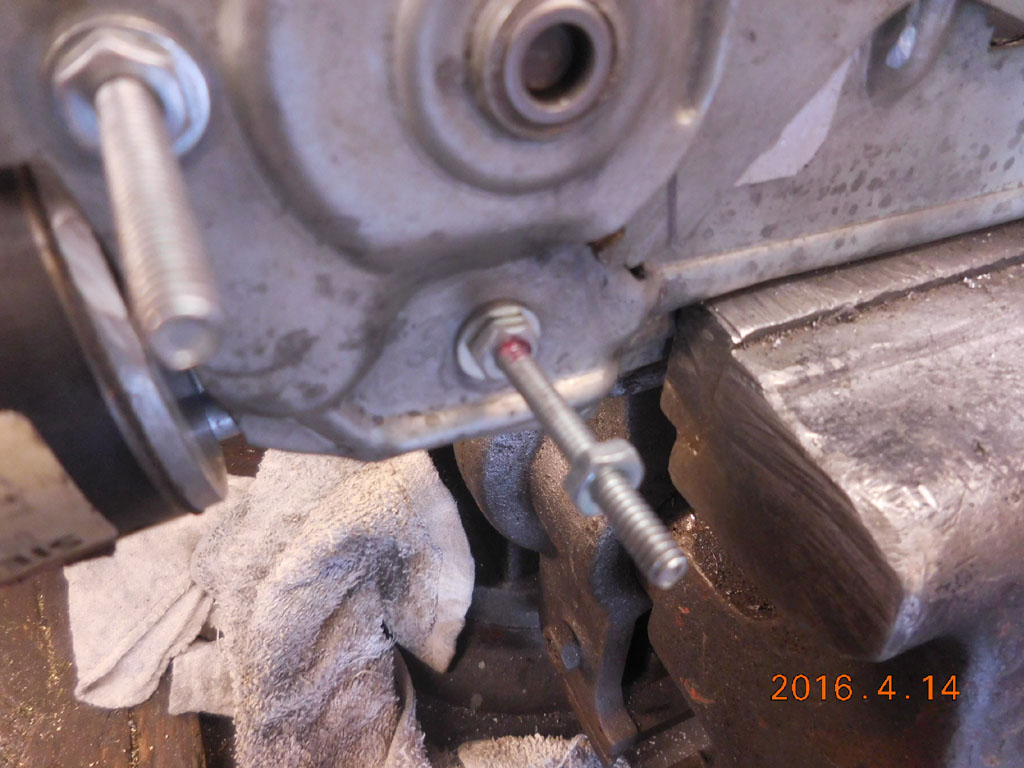 Double nuts with Red Loktite. Extra bolt is cut off 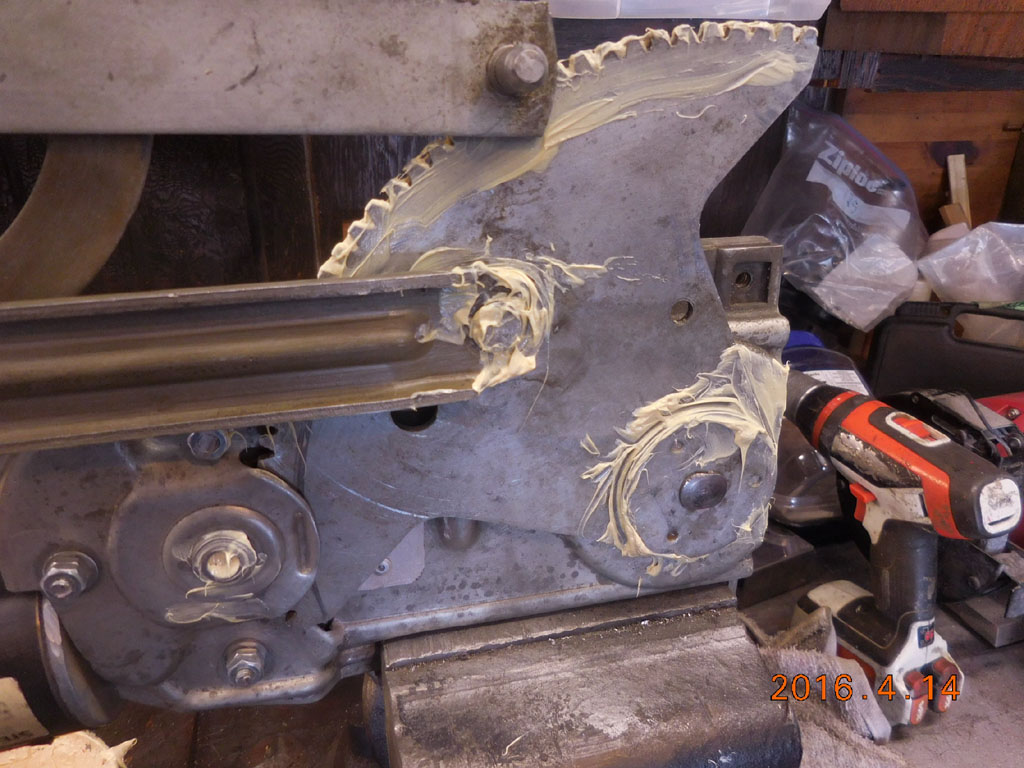 Good lube job.... 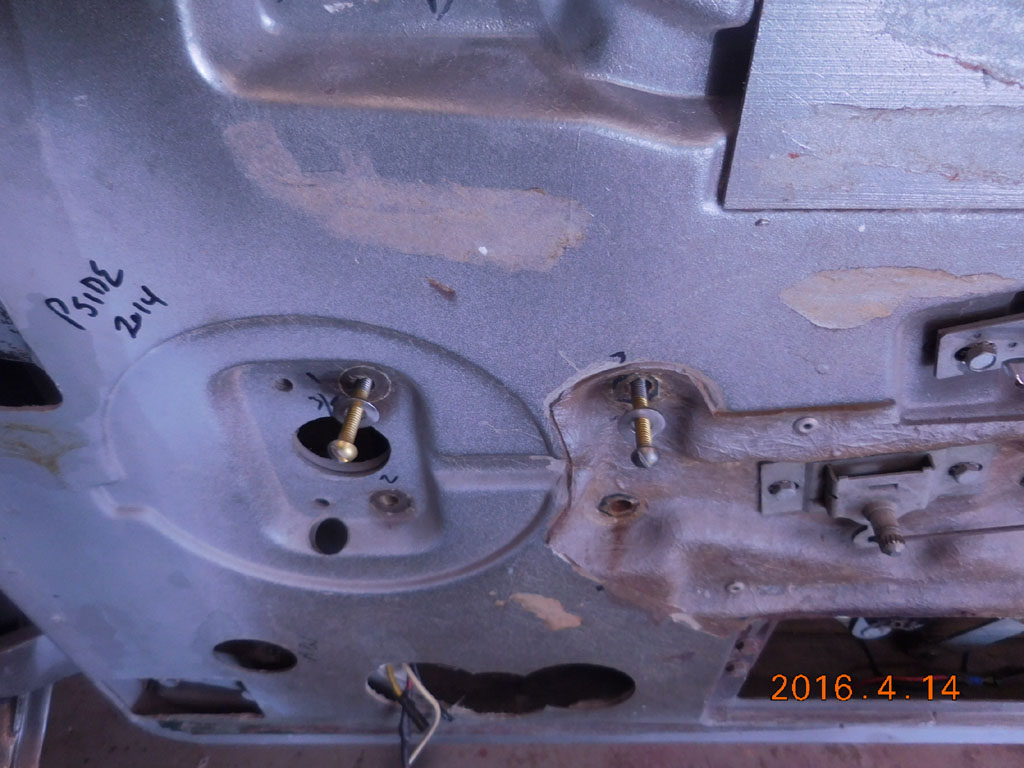 Using elongated bolts to stand the motor off and figure out what has to be cut 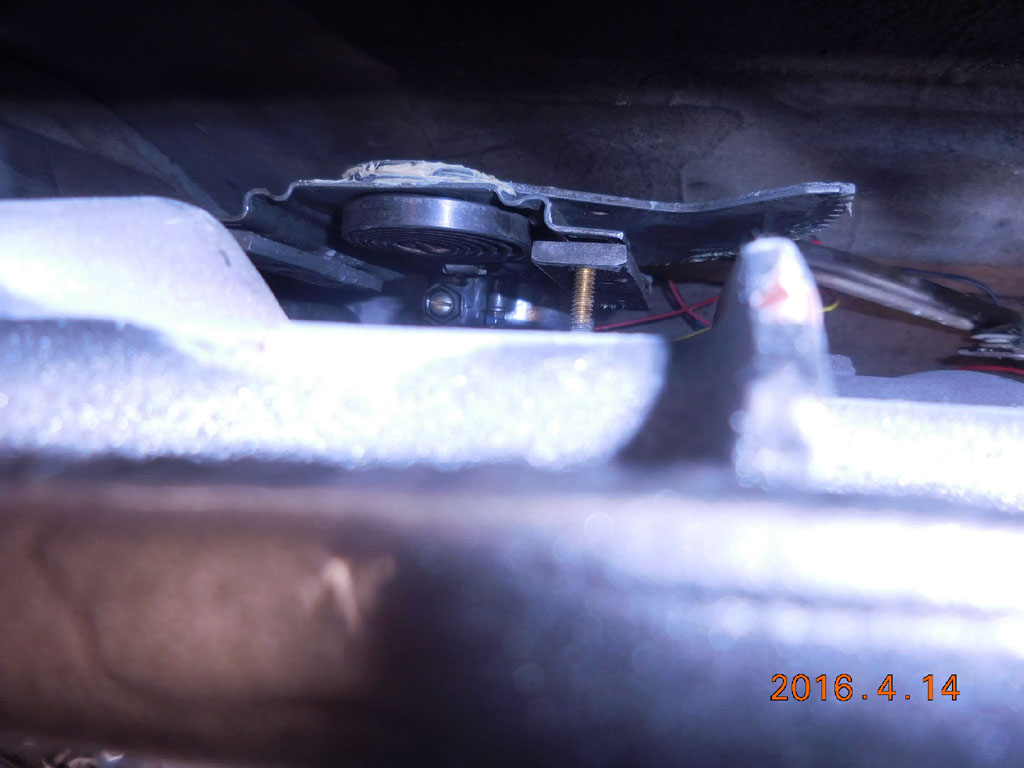 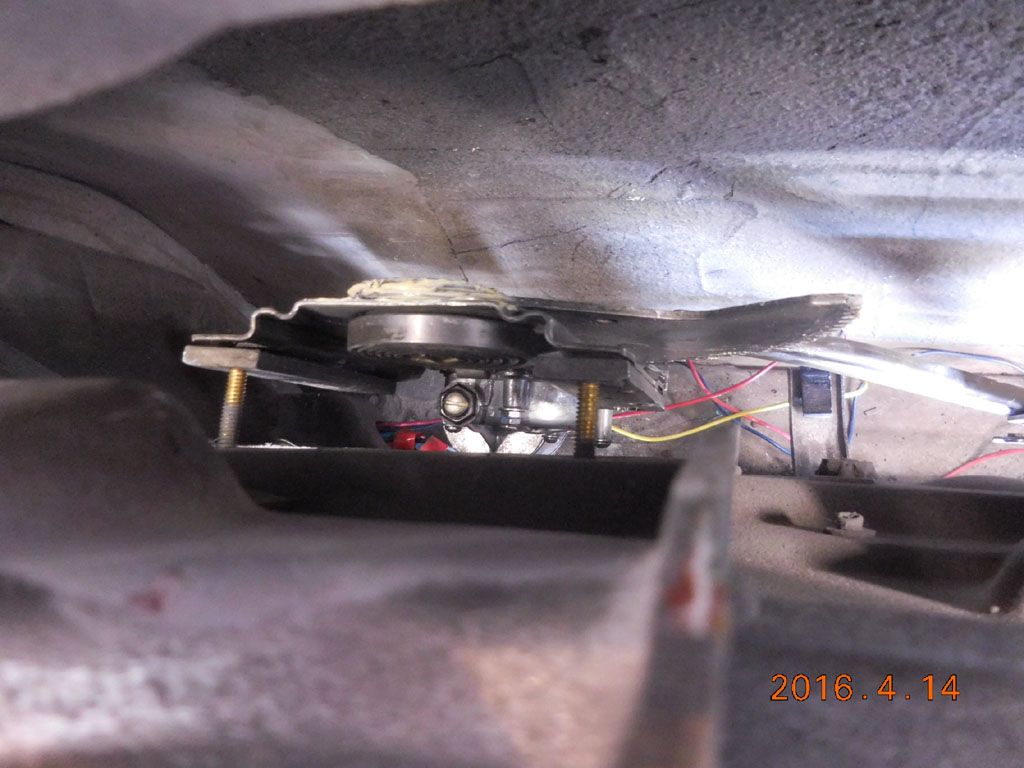 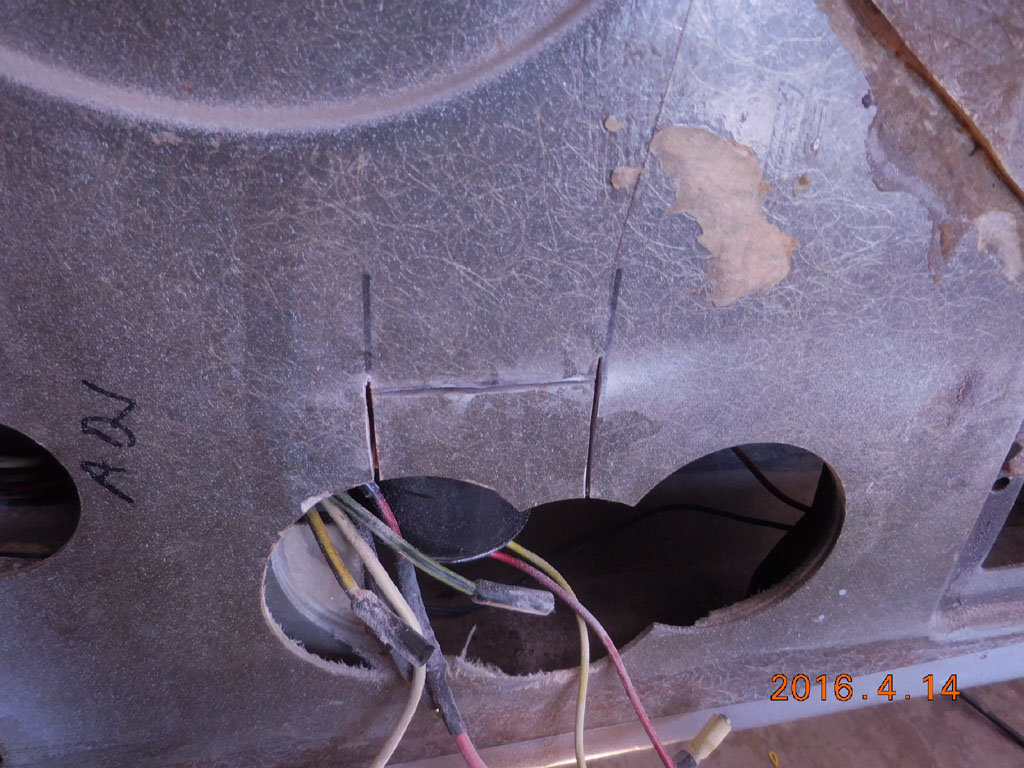 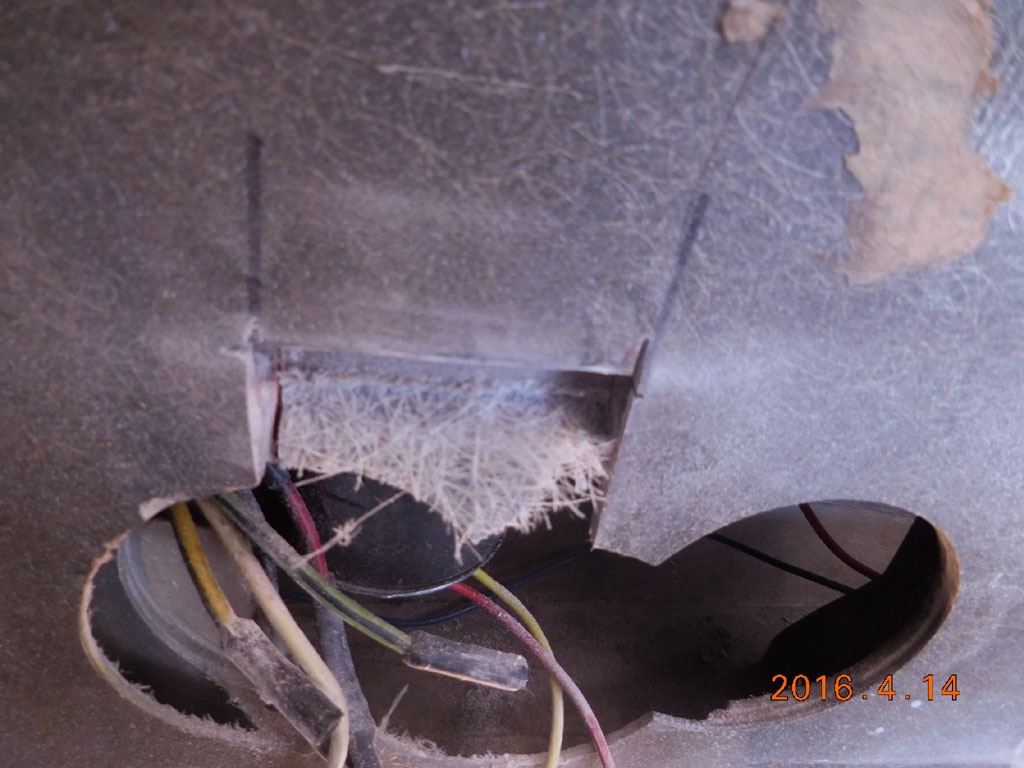 Cutting little bits at a time 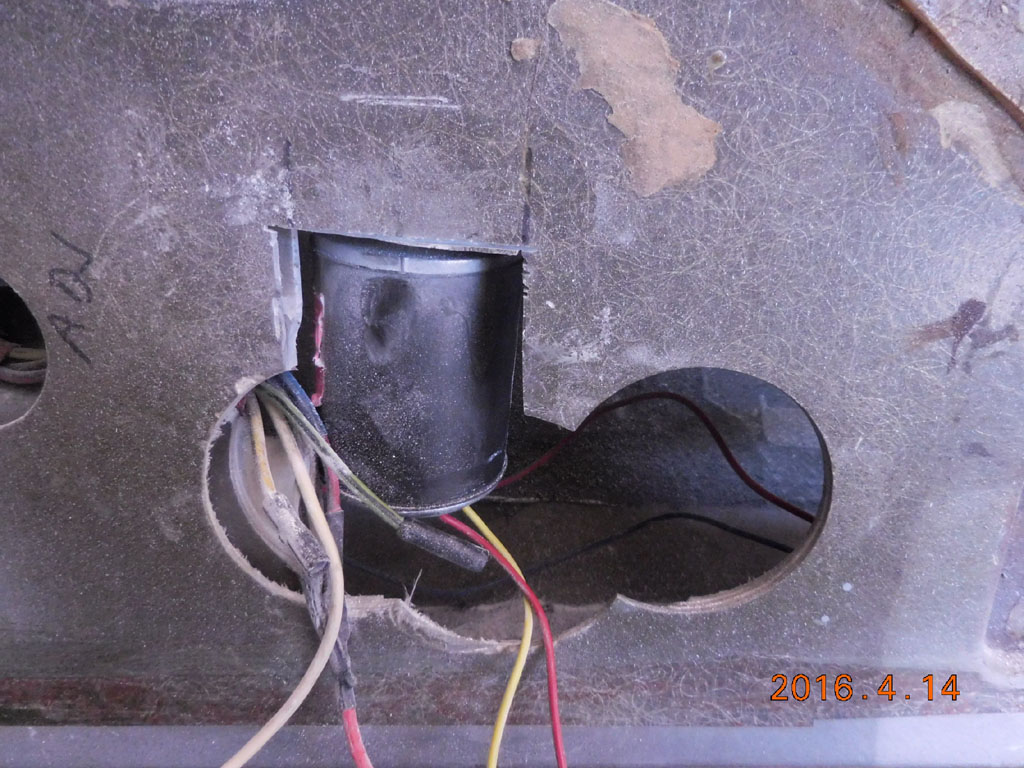 Door trimmed to fit motor 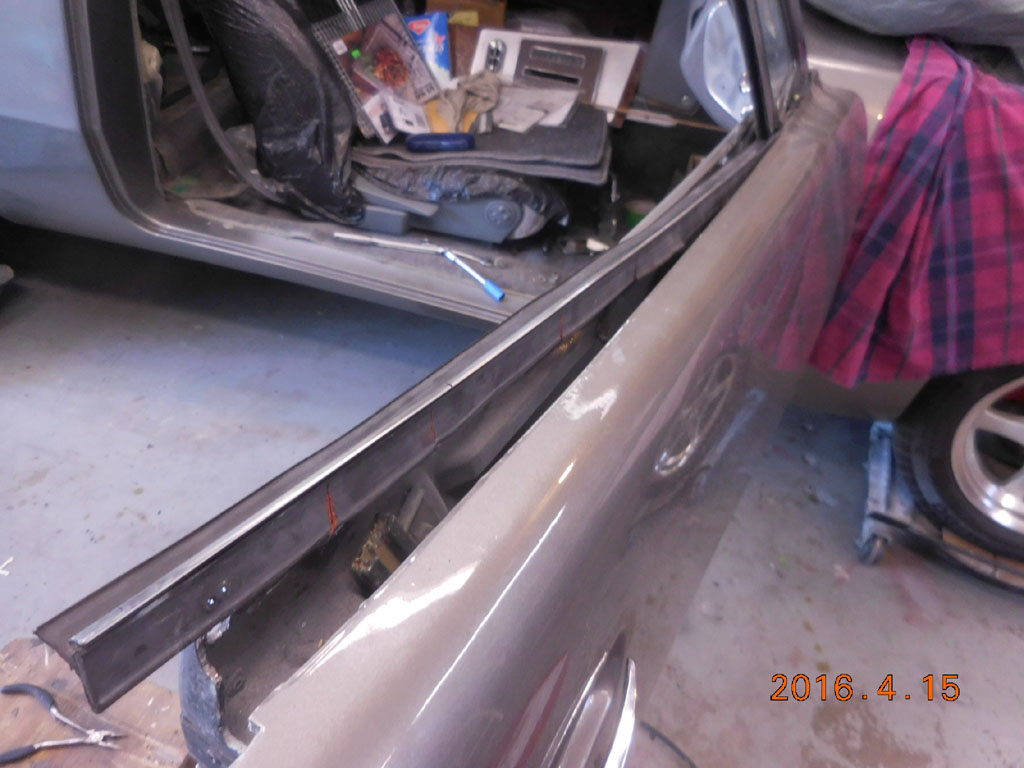 Measure twice and cut once 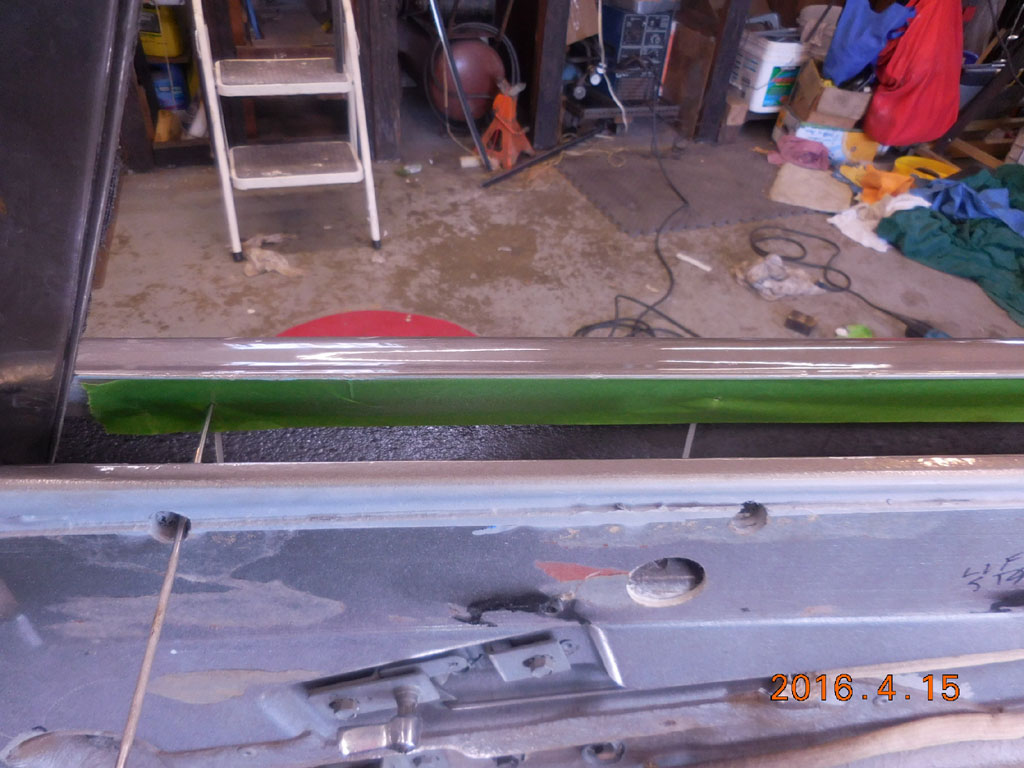 Finding the hole locations to drill thru the new strip 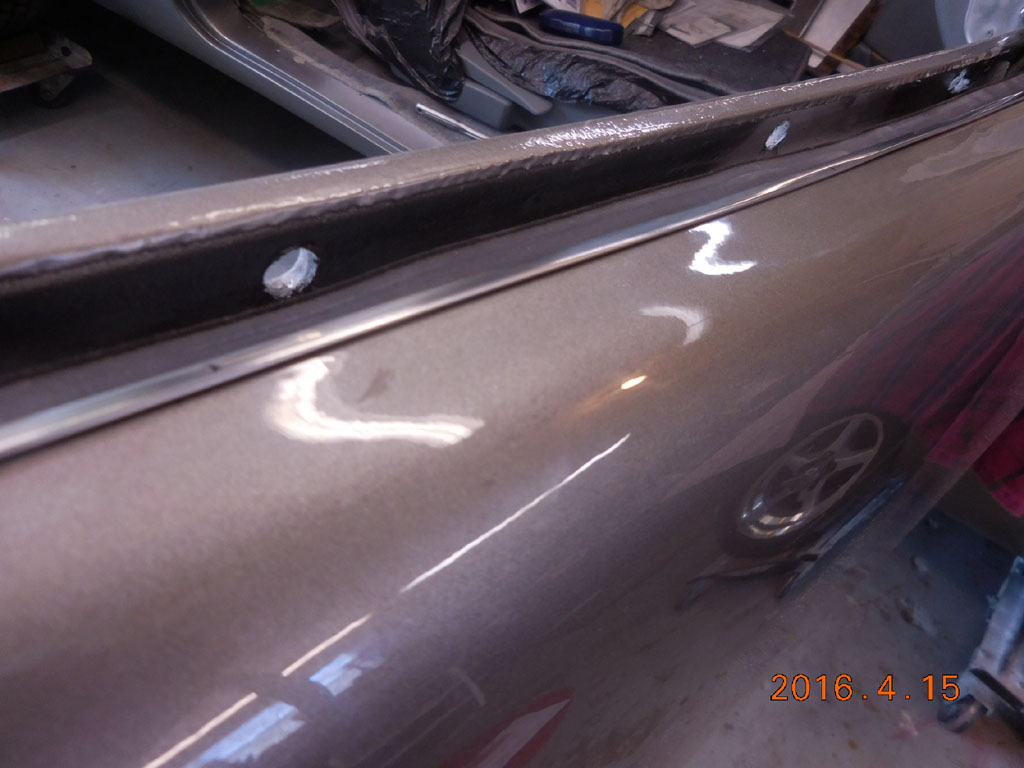 The hidden part of the strip had to be radiused to fit the curve of the door 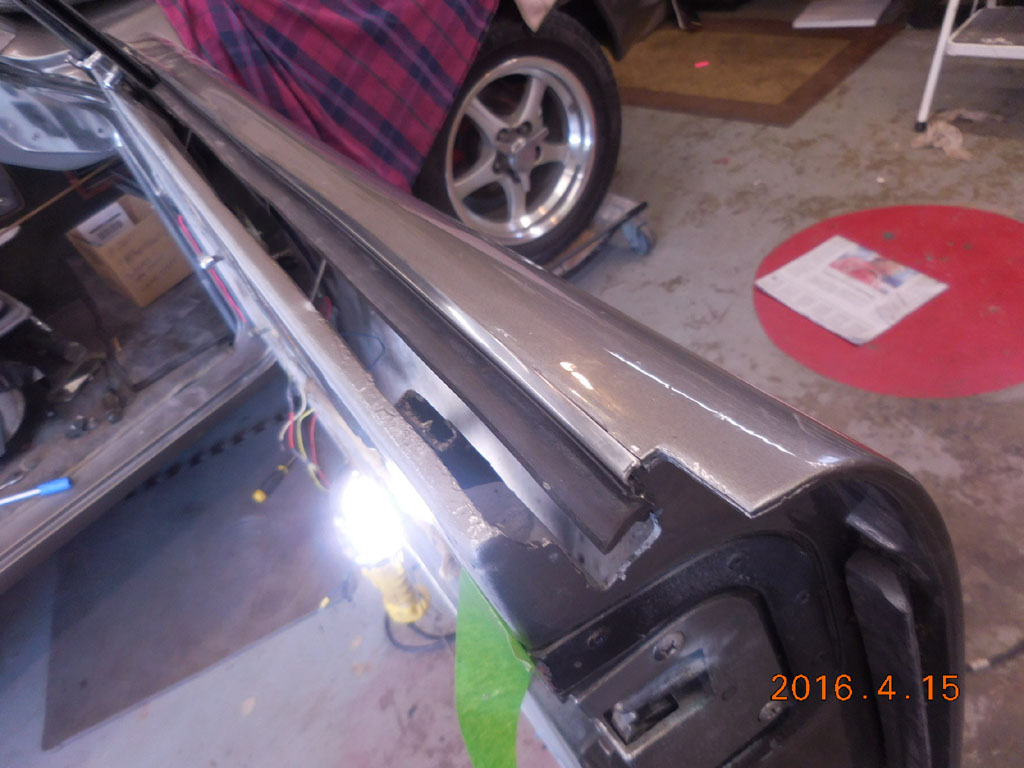 The new anti rattle strip is on //////////NOTE: June 2016: Found polarity reversing switches, so the entire relay assemble you see here is not required..///////
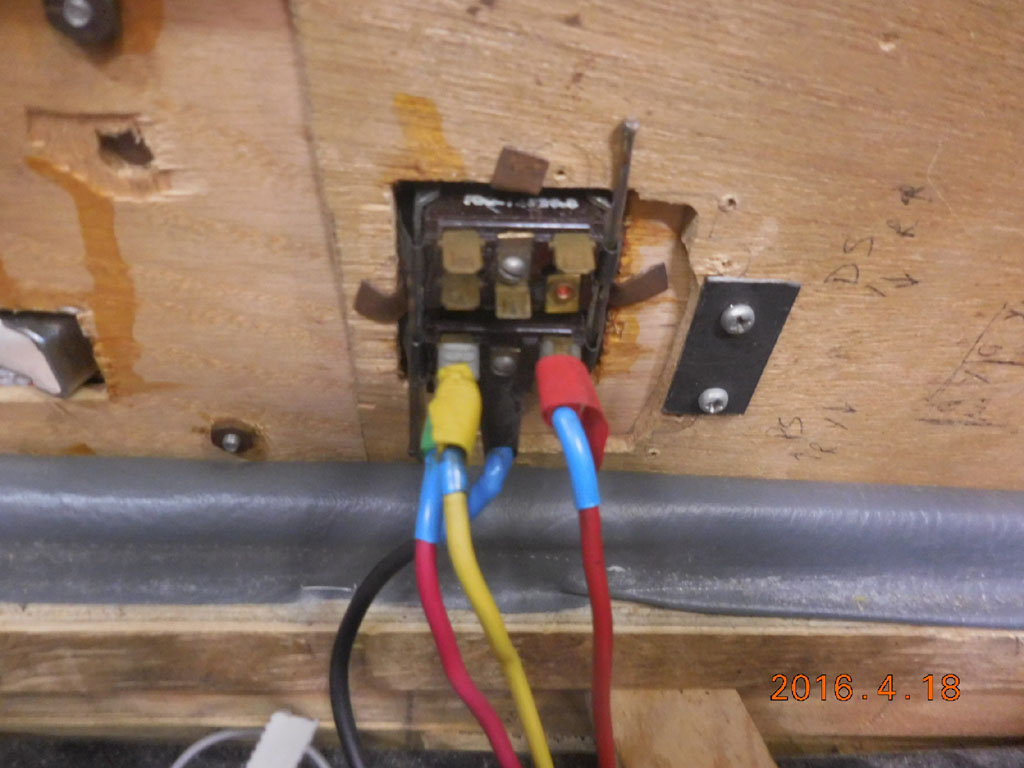 Old (original) switch and heavy wiring 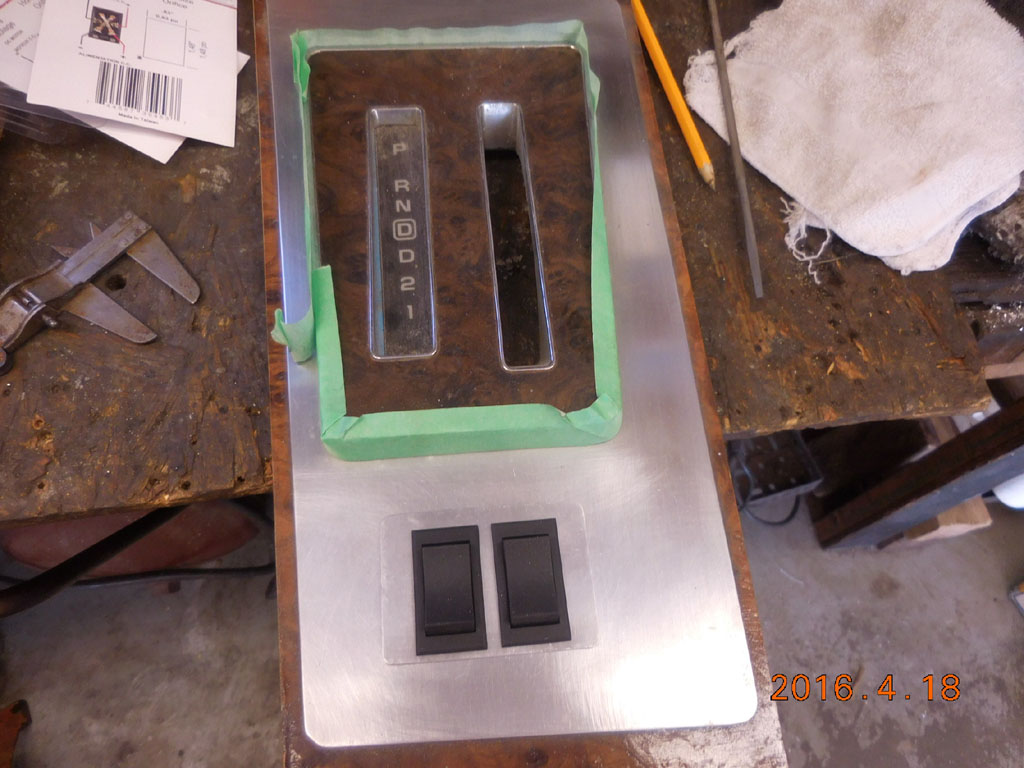 The new switches in the console 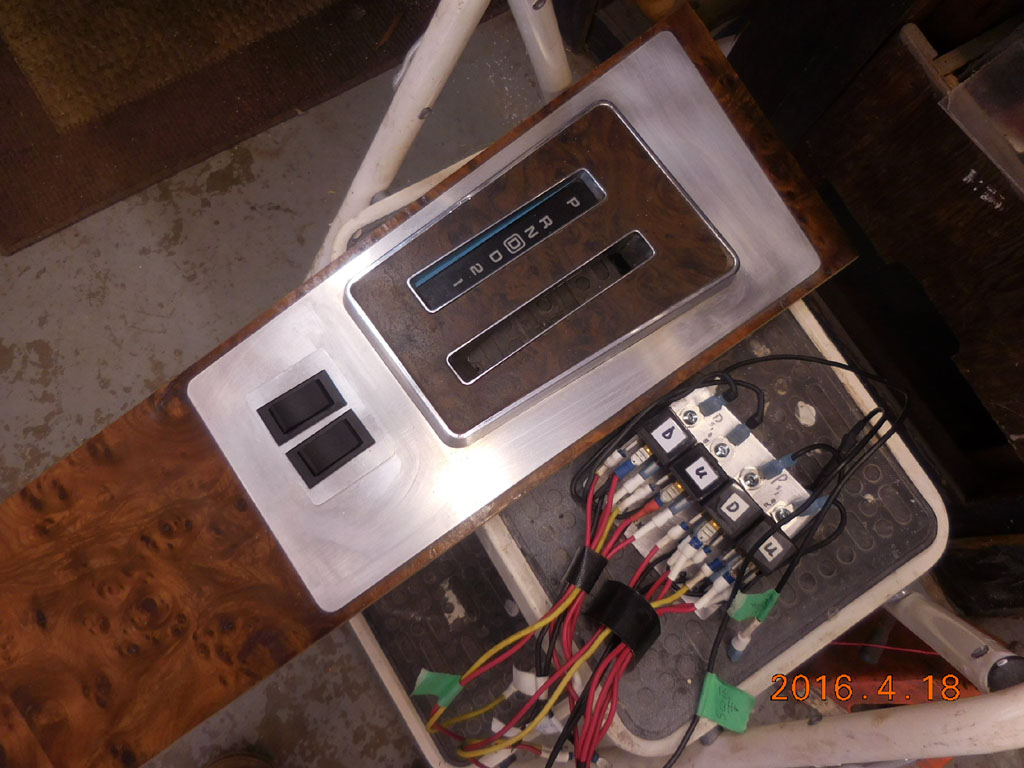 So the new switches replace the old relay pack 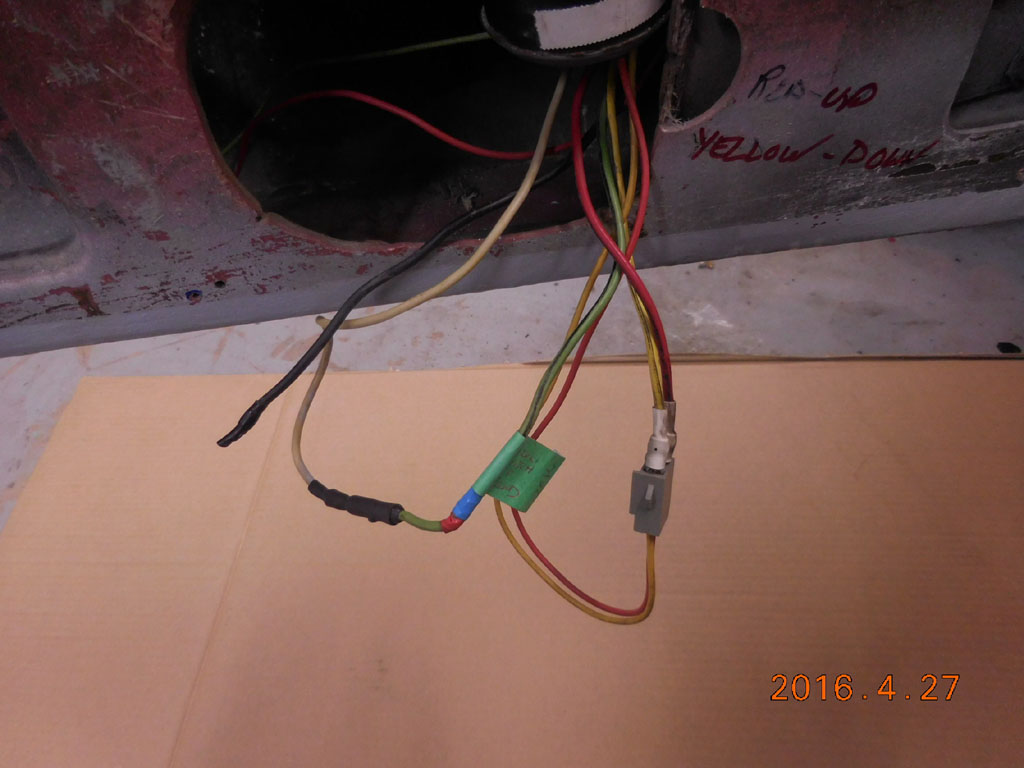 Connecting the green (switch) to the door white creating a ground for the switch, from the old motor ground 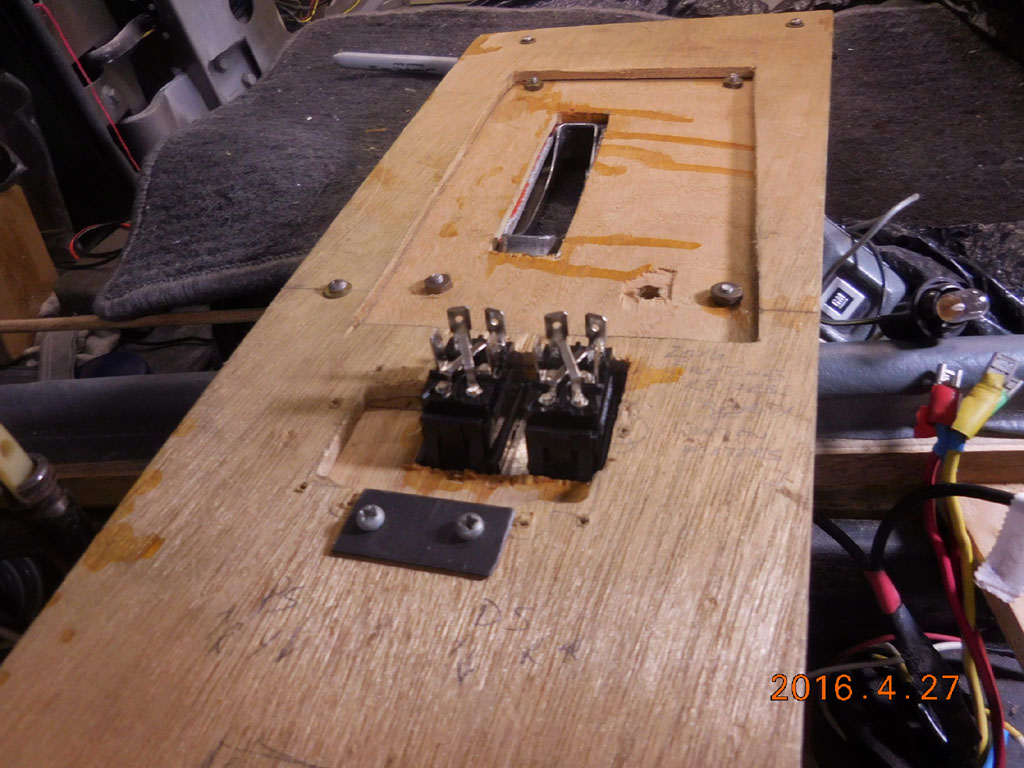 The new switches  Using the original wiring 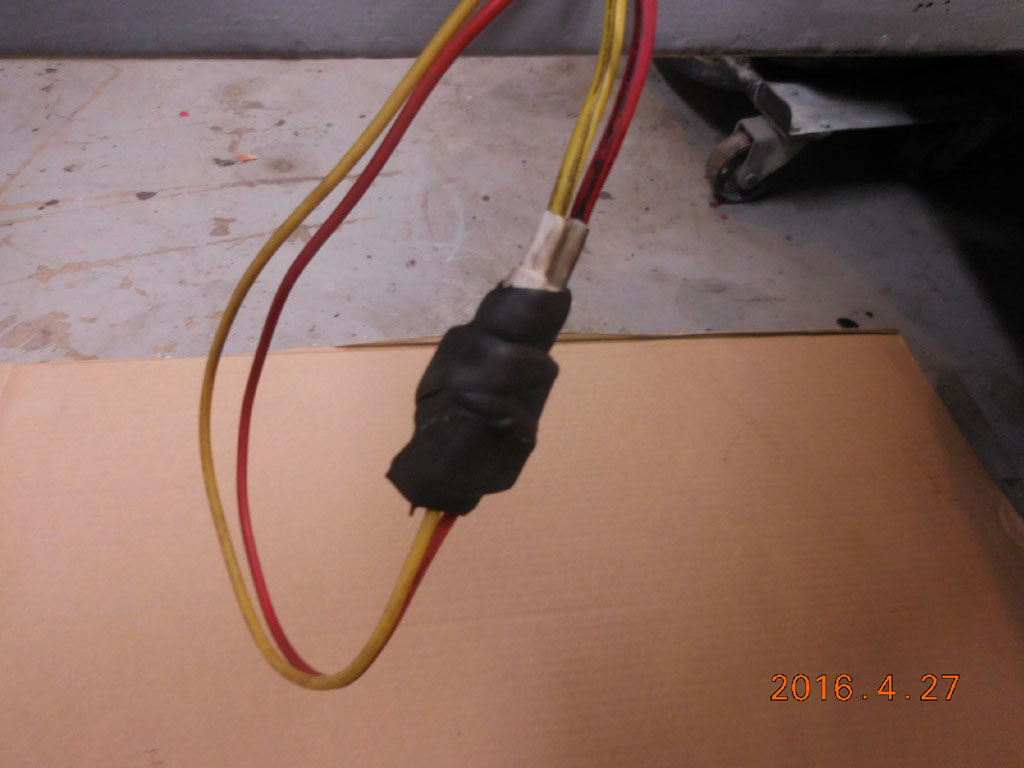 Weather seal with vulcanizing tape 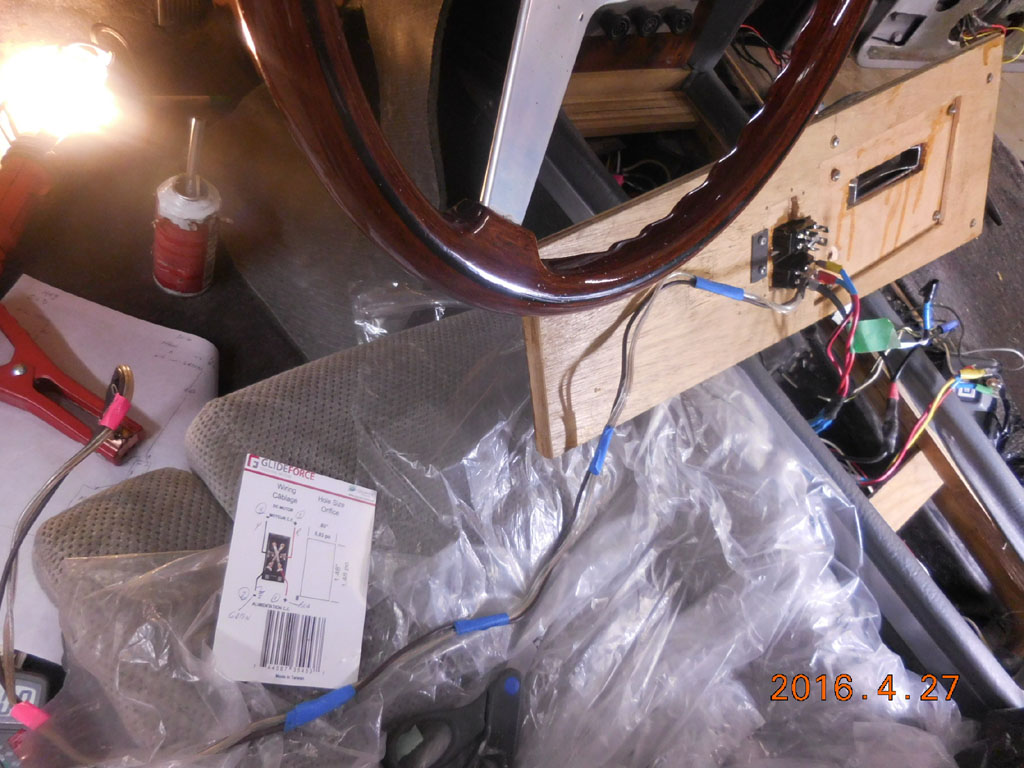 Applying Battery power to check operation 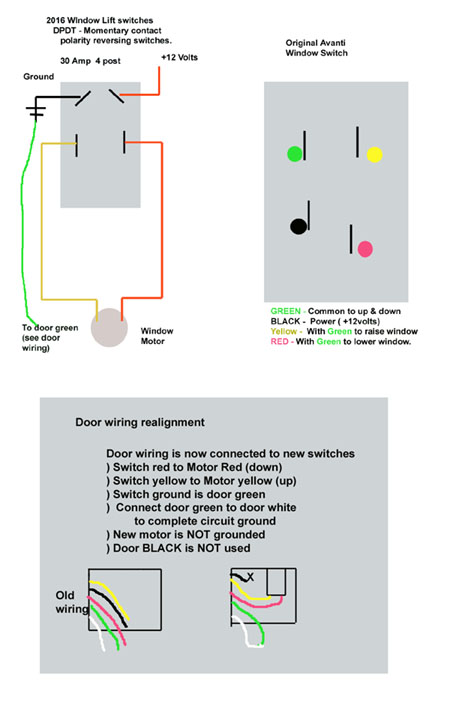 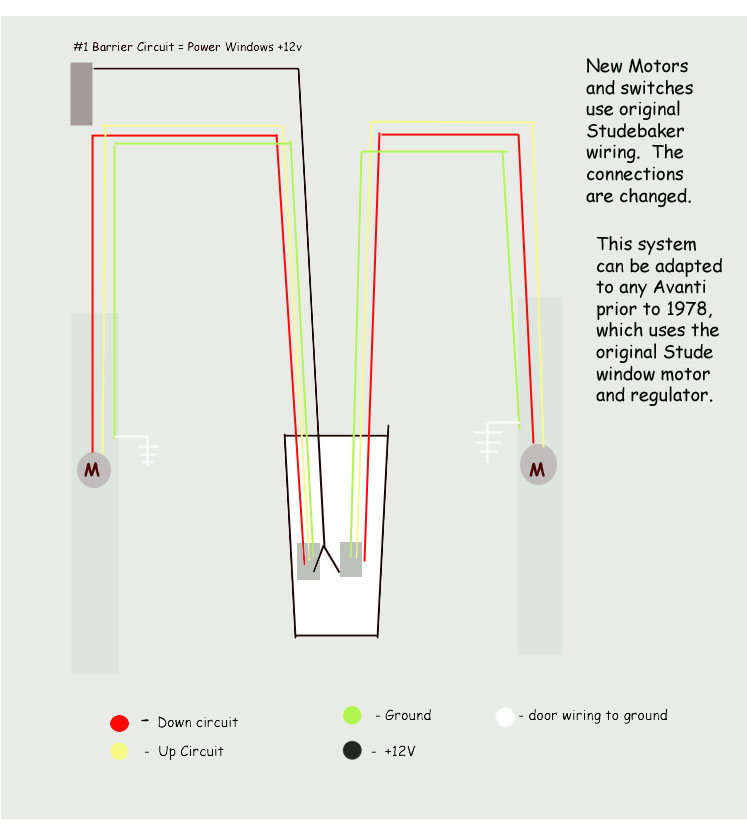 |