
Bob's Studebaker Resource Website
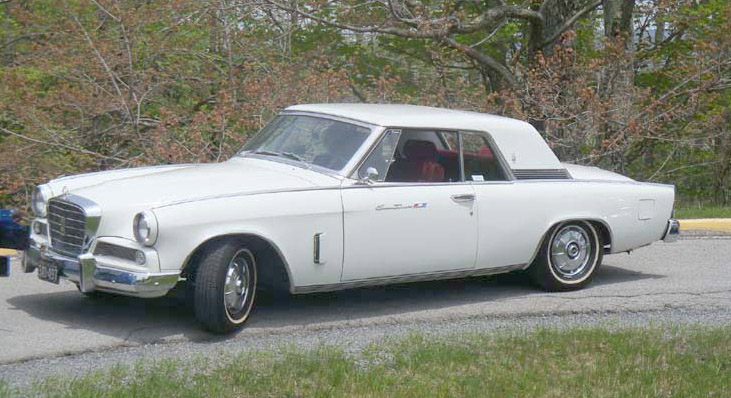
Studebaker rear helper springs
This fix was first introduced to me by Ray Ficthorn (Studeman on the SDC Forum). I've done this on two other cars also. You have to acquire a couple old leaf springs and cut 2 pieces to fit, using a metal cut off wheel. You cannot cut leaf springs with a hacksaw, a sawz-all or the like, the blades will just wear out (and you too). Don't cut them before a test fitting first, as you have to mark them.
 Before.... |
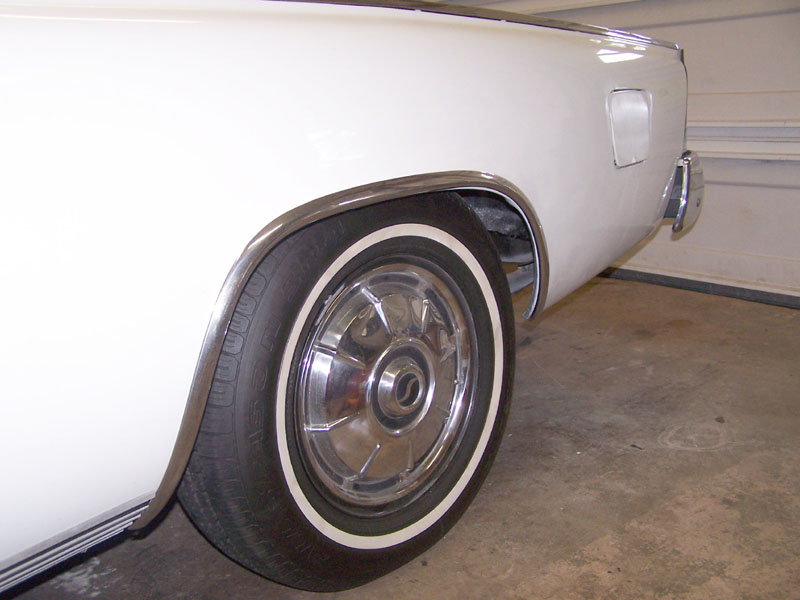 ....After.... |
At this point, removing the bolt will allow the 2 bottom leaves to drop off. Now, take the new leaf and bolt it in, making it #3 from the bottom. The top leaves are clamped together. Note that the bolt is off center from the middle of the spring. This is why you DON'T CUT the helper leaf until you mark it after it's inserted in the pack. The section behind the bolt is longer than the part in front of the bolt. I made this set about 28". The longer the leaf, the higher the car will ride. I don't have any way to judge where it will wind up, so the new leaf was a bit conservative.
Since you're adding a leaf (1/4"), a new, longer, grade 8 bolt is needed and you have to grind the head round. The head will be too short to fit through the pad and into the axle perch, so you have to shim the bolt head higher. This can be done using a piece of thick wall tubing, cut to fit (1/4") or a large nut, rounded to match the size of the bolt head. The axle perch hole is 1/2"-5/8" in diameter.
Clean off all the hardware before reattaching and use RED lok-tite on the nuts.
The 46 year old springs were showing their age. There wasn't any problem with the ride, but the look wasn't right.
The task is pretty straight forward, just disassemble everything and add a leaf. Getting to the part about disassembling is a bit of exercise.
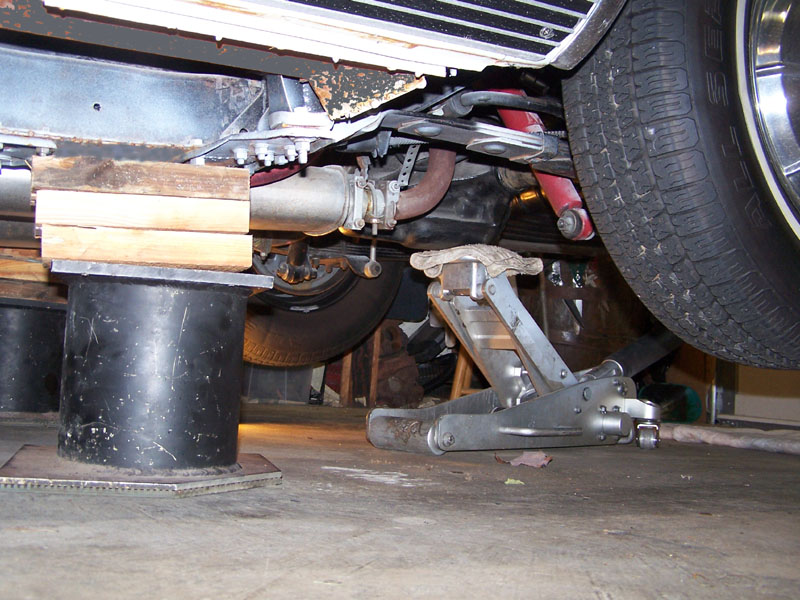
First thing I do is jack up by the axle and block up the frame
Since the springs are mounted non-symmetrically, you can spot another jack in the middle to support the spring, then remove the shock, sway bar and lower spring retainer plate
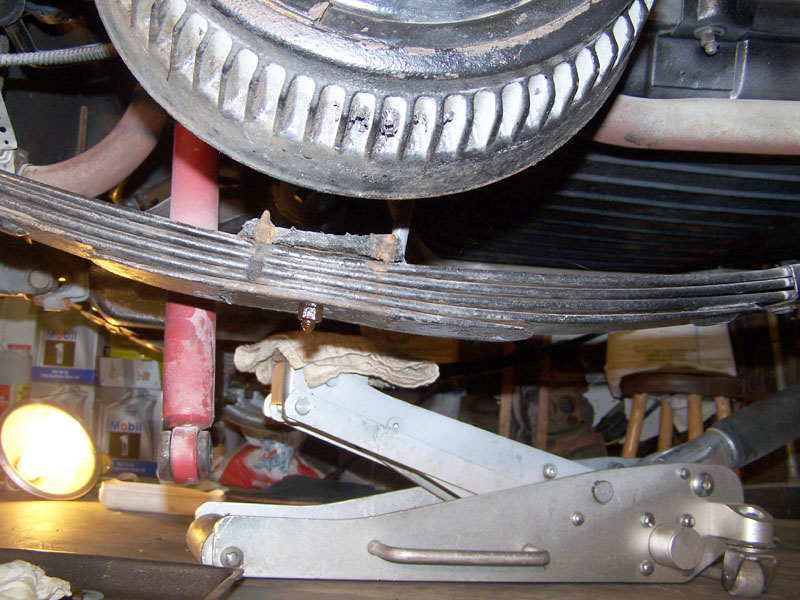
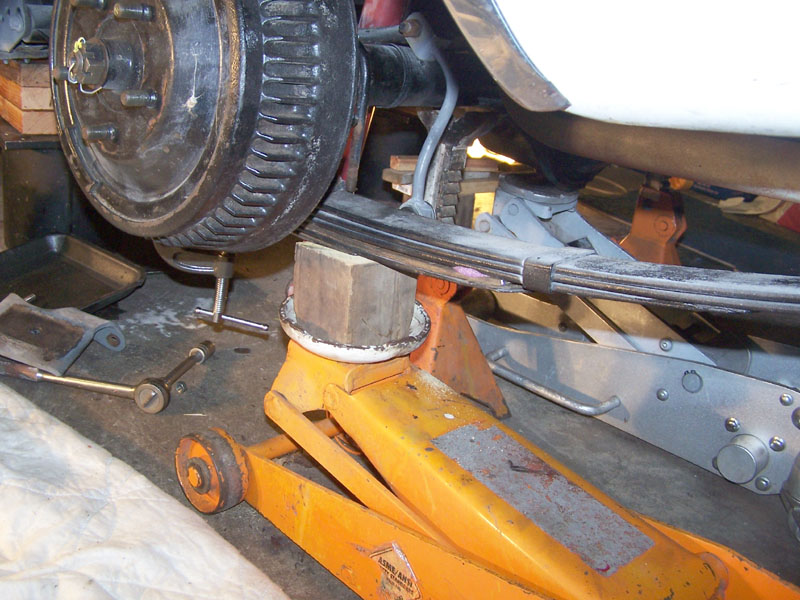
After the retainer plate is removed, lower the jack and the spring will relax down about 2-3 inches. At this point you have to remove the nut on the bottom of the spring pack. This spring locating bolt has a rounded head to center itself in the axle perch. It cannot be reused, since you now need a longer bolt, so, if necessary, you can destroy it to remove it.
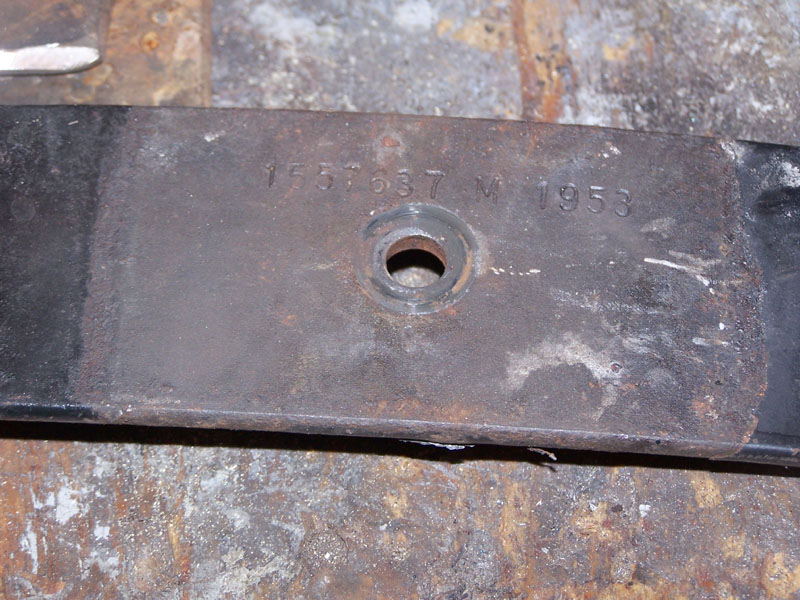
1557637 M 1953 - Standard springs for 63/64 V & S
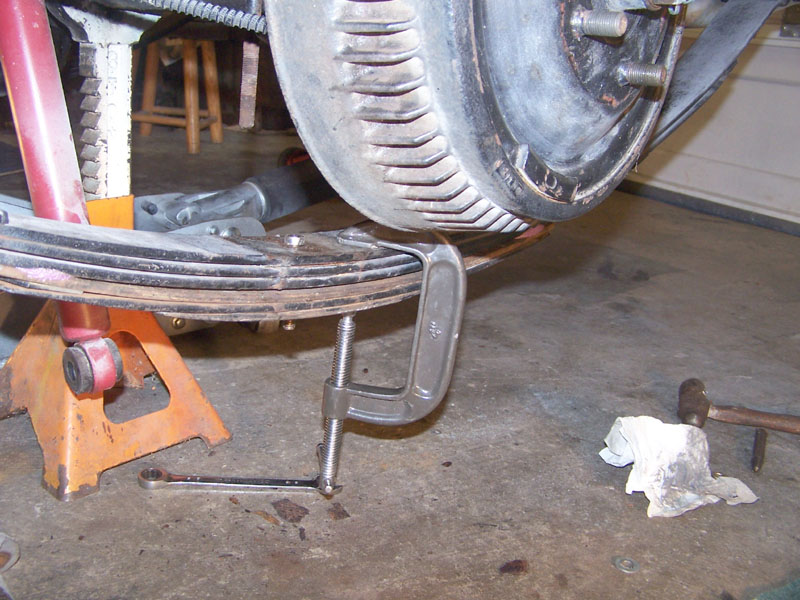
Insert the new leaf, clamp the pack and install the new bolt. There are plastic spring sliders in these springs. I made an extra slider from the plastic top of a 5 gal paint bucket.
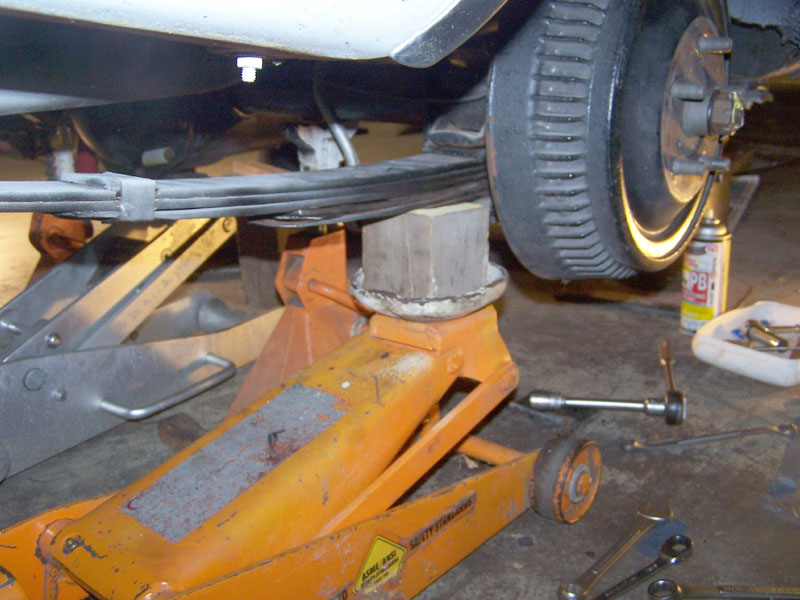
After the leaf is cut to fit and re-inserted into the sheaf, jack up the pack again and reinstall isolator pad and the retainer plate. If the isolator pads are pretty gnarled up and give some problem fitting back, use a metal shear and cut 1/4" off each side, so they will clear the U-bolts and not interfere. If you're wondering, the axle U-bolts do not need to be changed. The retainer plate nuts will snug up to the tip of the U-bolts.
...again, the result....