
Bob's Resource Website (2007)
Rear leaf Spring Bushings
Bob's Resource Website (2007)
Rear leaf Spring Bushings
The following articles were extracted from Newsgroups and one from experience. While the theory in articles 1 & 2 are very applicable, in practice, you have to deal with a car that may have had been worked on before. If so, then you can run into problems where the previous mechanic(?) 'abused' the components to R&R the bushings. Then there is the rust issue...(See the bottom article)..
1)
Organization: Joliet Studebaker Service
> How do you get the rear bushings (front, in frame) out of our cars? And
> how do you get the new one in too?
There is a special Studebaker tool for that but if you do not have that you can use deep well sockets.You use one with the outside diameter a hair smaller than the O.D. of bushing ( 5/8? ) and one with a inside diameter a hair bigger than the O.D. of the bushing. Use your new bushing (you bought to replace these ) as a guide.Use a lenght of threaded rod , preferably 3/8" fine thread and long enough to go through the two sockets and old bushing. Grease the threads on one end and install heavy 3/8 fender washers and matching nuts on the other end of the rod after running it through the two sockets and old bushing. The small socket goes with the square hole against the old bushing on the inside of the frame and a heavy (or two normal ones) fender washer on the other sideone the inside of the frame.
The larger socket goes with the large opening on the outside of the frame.
The threaded rod with the geased end goes toward the outside. install a heavy
fender washer and screw a nut on this. Tightening the nut on the greased end
will pull the smaller socket thru the hole in the frame , taking the old
bushing with it. Make sure the sockets stay centered. Installation is the
reverse. Whenever you use a threaded rod as a pulling rod you have to grease
it good in order to have maximum pulling power. If you are out of grease
look under your Studebaker and there are gobs of it.
R.Kapteyn , Joliet Studebaker Service
I start by replacing the bushing in the spring first as it it easier
and you can get familiar with the procedure. In theory you put the threaded
rod through the bushing. put the 7/8" steel spacer on and a nut. Then on the
other side you slide the pipe spacer on and center it over the surround
shoulder on the spring, put on a couple of large washers ( a little lube here
will prevent galling) put on a nut and tighten to withdraw the bushing. In
practice the bushing is worn and off center and it is impossible to center the
7/8" spacer. I just forget the spacer the first time and put a nut on it only.
Then tighten the nut at the pipe spacer until you have withdrawn the entire
rubber center from the bushing. You can repeat the procedure with the 7/8"
spacer centered on the old bushing and withdraw it. This may require a couple
of 11/16" box end wrenches about a foot long!!
If you bend the threaded rod extracting the old bushings, it it time to cut a
new piece and continue. To install the new bushing you can either cut a
section about 3/8" from the old outer bushing case or counter drill the spacer
so that when you use it to pull the new bushing into place you apply pressure
only to the outside steel part of the bushing. You do not want to apply
pressure to the center steel part of the new bushing. I use anti-seize on the
outside of the bushing. I do not know if it makes them easier to pull in but
it will help the next fellow in 2008. Once you have successfully installed
one bushing in the spring you will have the experience to do the others and
the ones in the frame as well.
At this point raising or lowering the axle to align and replace the bolts in the shackle is a rather easy task. I re-check the torque on the bolts once the car is back on the ground at ride height.
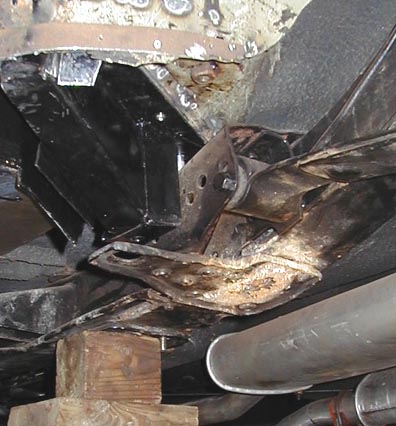
The following is a pictoral Page on the procedure
May 2001 -
64 GT Hawk
![]()