|
showbizkid
Commander Member

USA
3086 Posts |
 Posted - 11/14/2009 : 01:26:33 AM Posted - 11/14/2009 : 01:26:33 AM


|
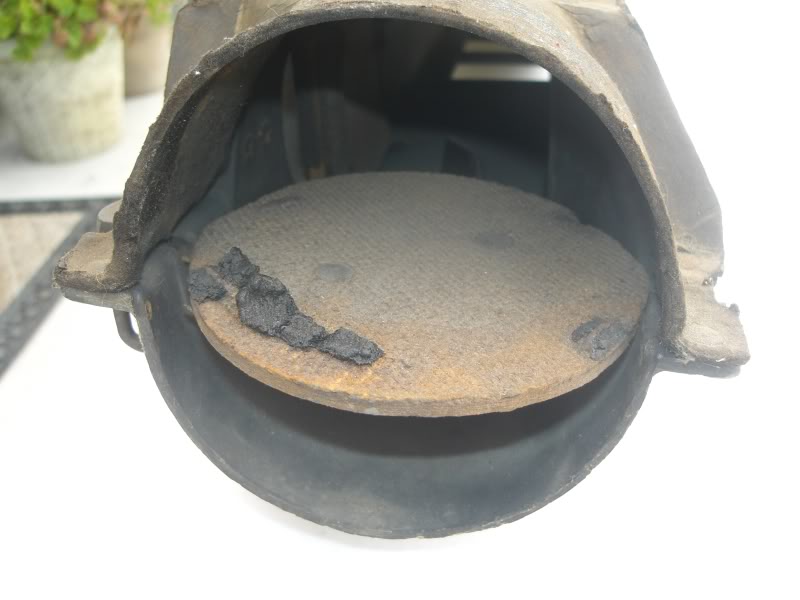
During the R&R of my Climatizer, I found that the heater diverter
box needed a renewing, since it looked shabby but also worked poorly.
The original rubber sheet material that was used to quiet and seal the
diverter paddles was long gone, and the box would require disassembly
to fix them.
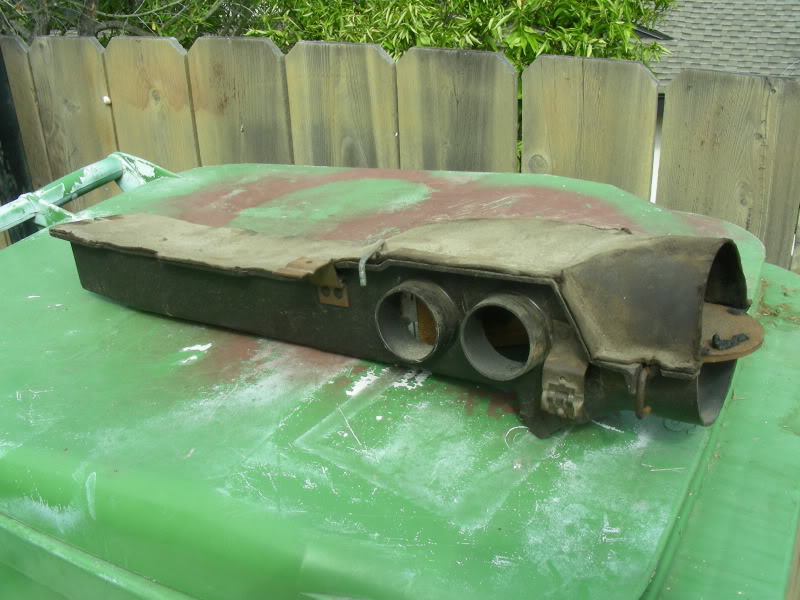
The box is two parts, riveted together; a formed cardboard upper and a fiber-reinforced thermoplastic lower.
I
first tried drilling out the rivets, but they only spun in the soft
plastic. I didn't want to enlarge the holes, so I used needle-nose
pliers to bend them up and removed them one at a time.
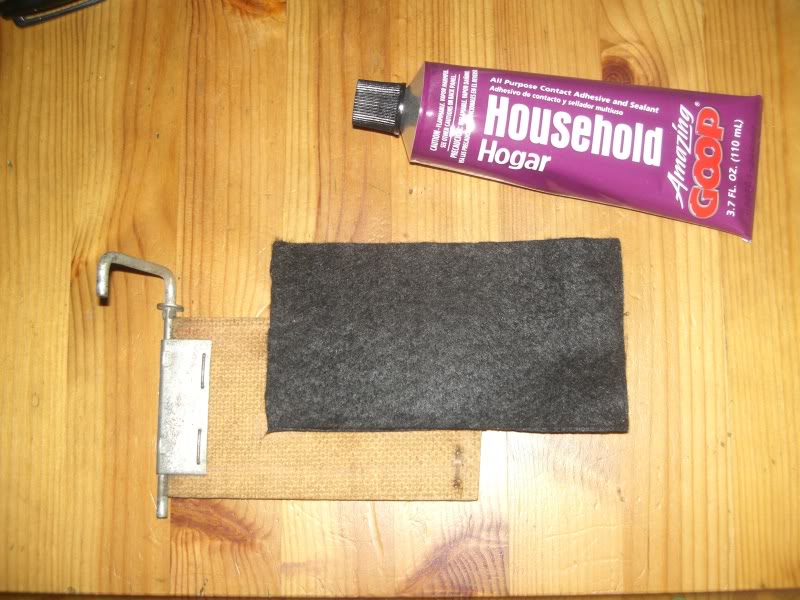
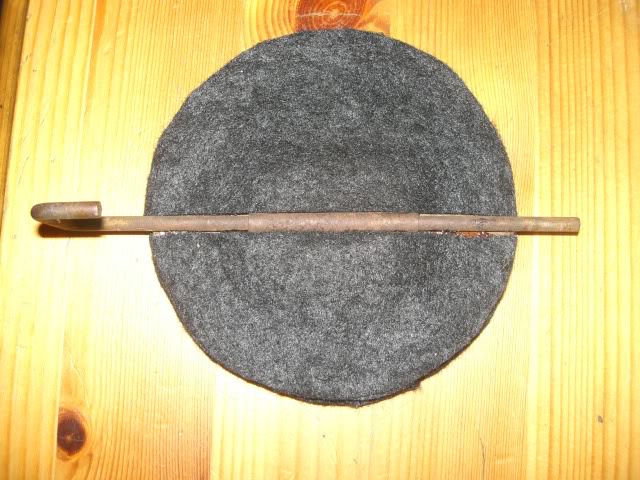
Instead
of using rubber or foam to "reupholster" the flappers, I went for felt,
figuring it will hold up better and make for quieter operation. The
sheet felt was procured from Michaels; I couldn't find the thickness I
wanted so I bought two sheets of the kind with the self-adhesive
backing and laminated them into one thick sheet, and adhered the result
to the fiberboard flappers with Goop.
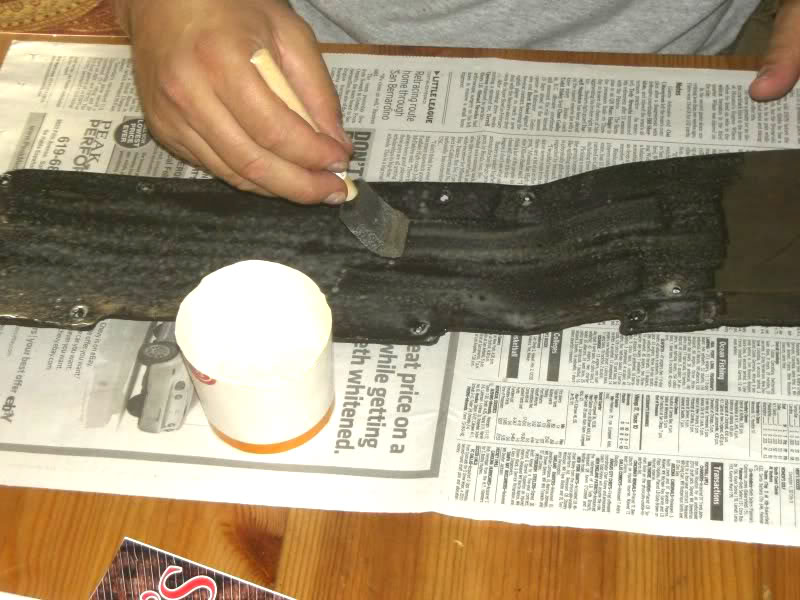
Someone
here on the forum advised painting the cardboard portion with a thinned
wash of carpenter's glue, which I did. It not only freshened the
cardboard visually, it also stiffened it and sealed it.
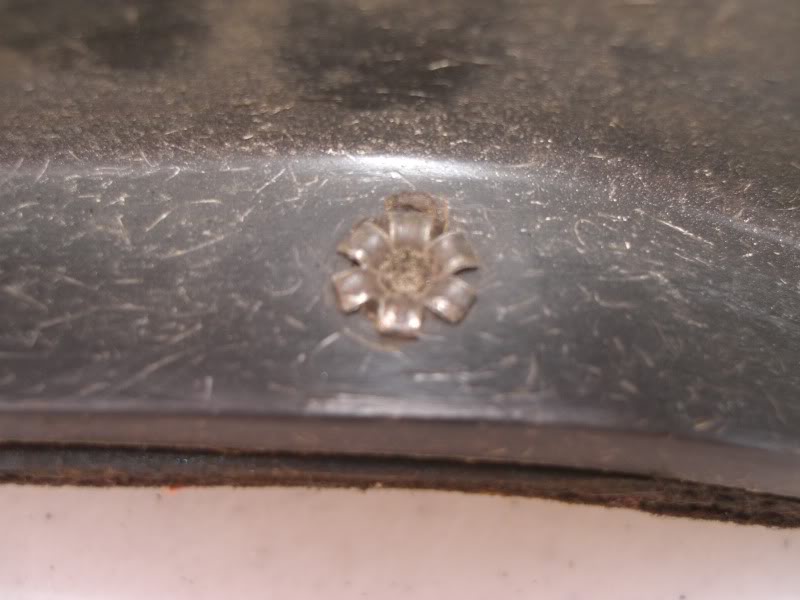
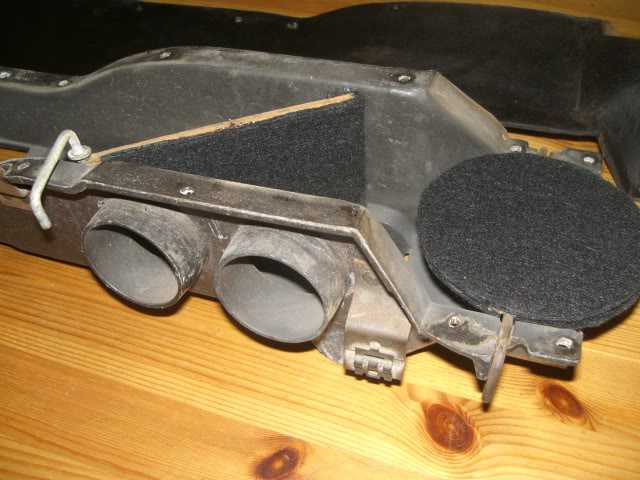
When
the cardboard was dry, it was time to reassemble the bits. Note in the
photo below that there's a washer on the upper shaft of the defroster
flapper. This goes on the shaft and rests between the pinches in the
shaft and the cardboard top to keep the shaft from unduly wearing the
cardboard. Don't forget to replace it before you begin to reattach the
top.
To
reattach the top, I first tried pop rivets, but they took too much
pressure to set and I was afraid of cracking the plastic tub. I settled
on 1/4" machine screws with self-locking nuts. Not original looking,
but they do the job and if I ever need to get back in for some reason,
easy to remove.

Good as new, ready to re-install 

Clark in San Diego
'63 F2/Lark Standard
https://studeblogger.blogspot.com
www.studebakersandiego.com |
|